GCP Storage
There are two parts to setting up a GCP integration in Encord:
Setting up a GCP bucket on the Google Could Platform so that it can be integrated with Encord.
Integrating your GCP bucket with Encord's platform. Strict client-only access can also be added in this step if necessary.
1. Setting up a GCP bucket
To get started, please log into your Google cloud account and navigate to the GCP bucket you wish to integrate with Encord.
Creating a service account for Encord
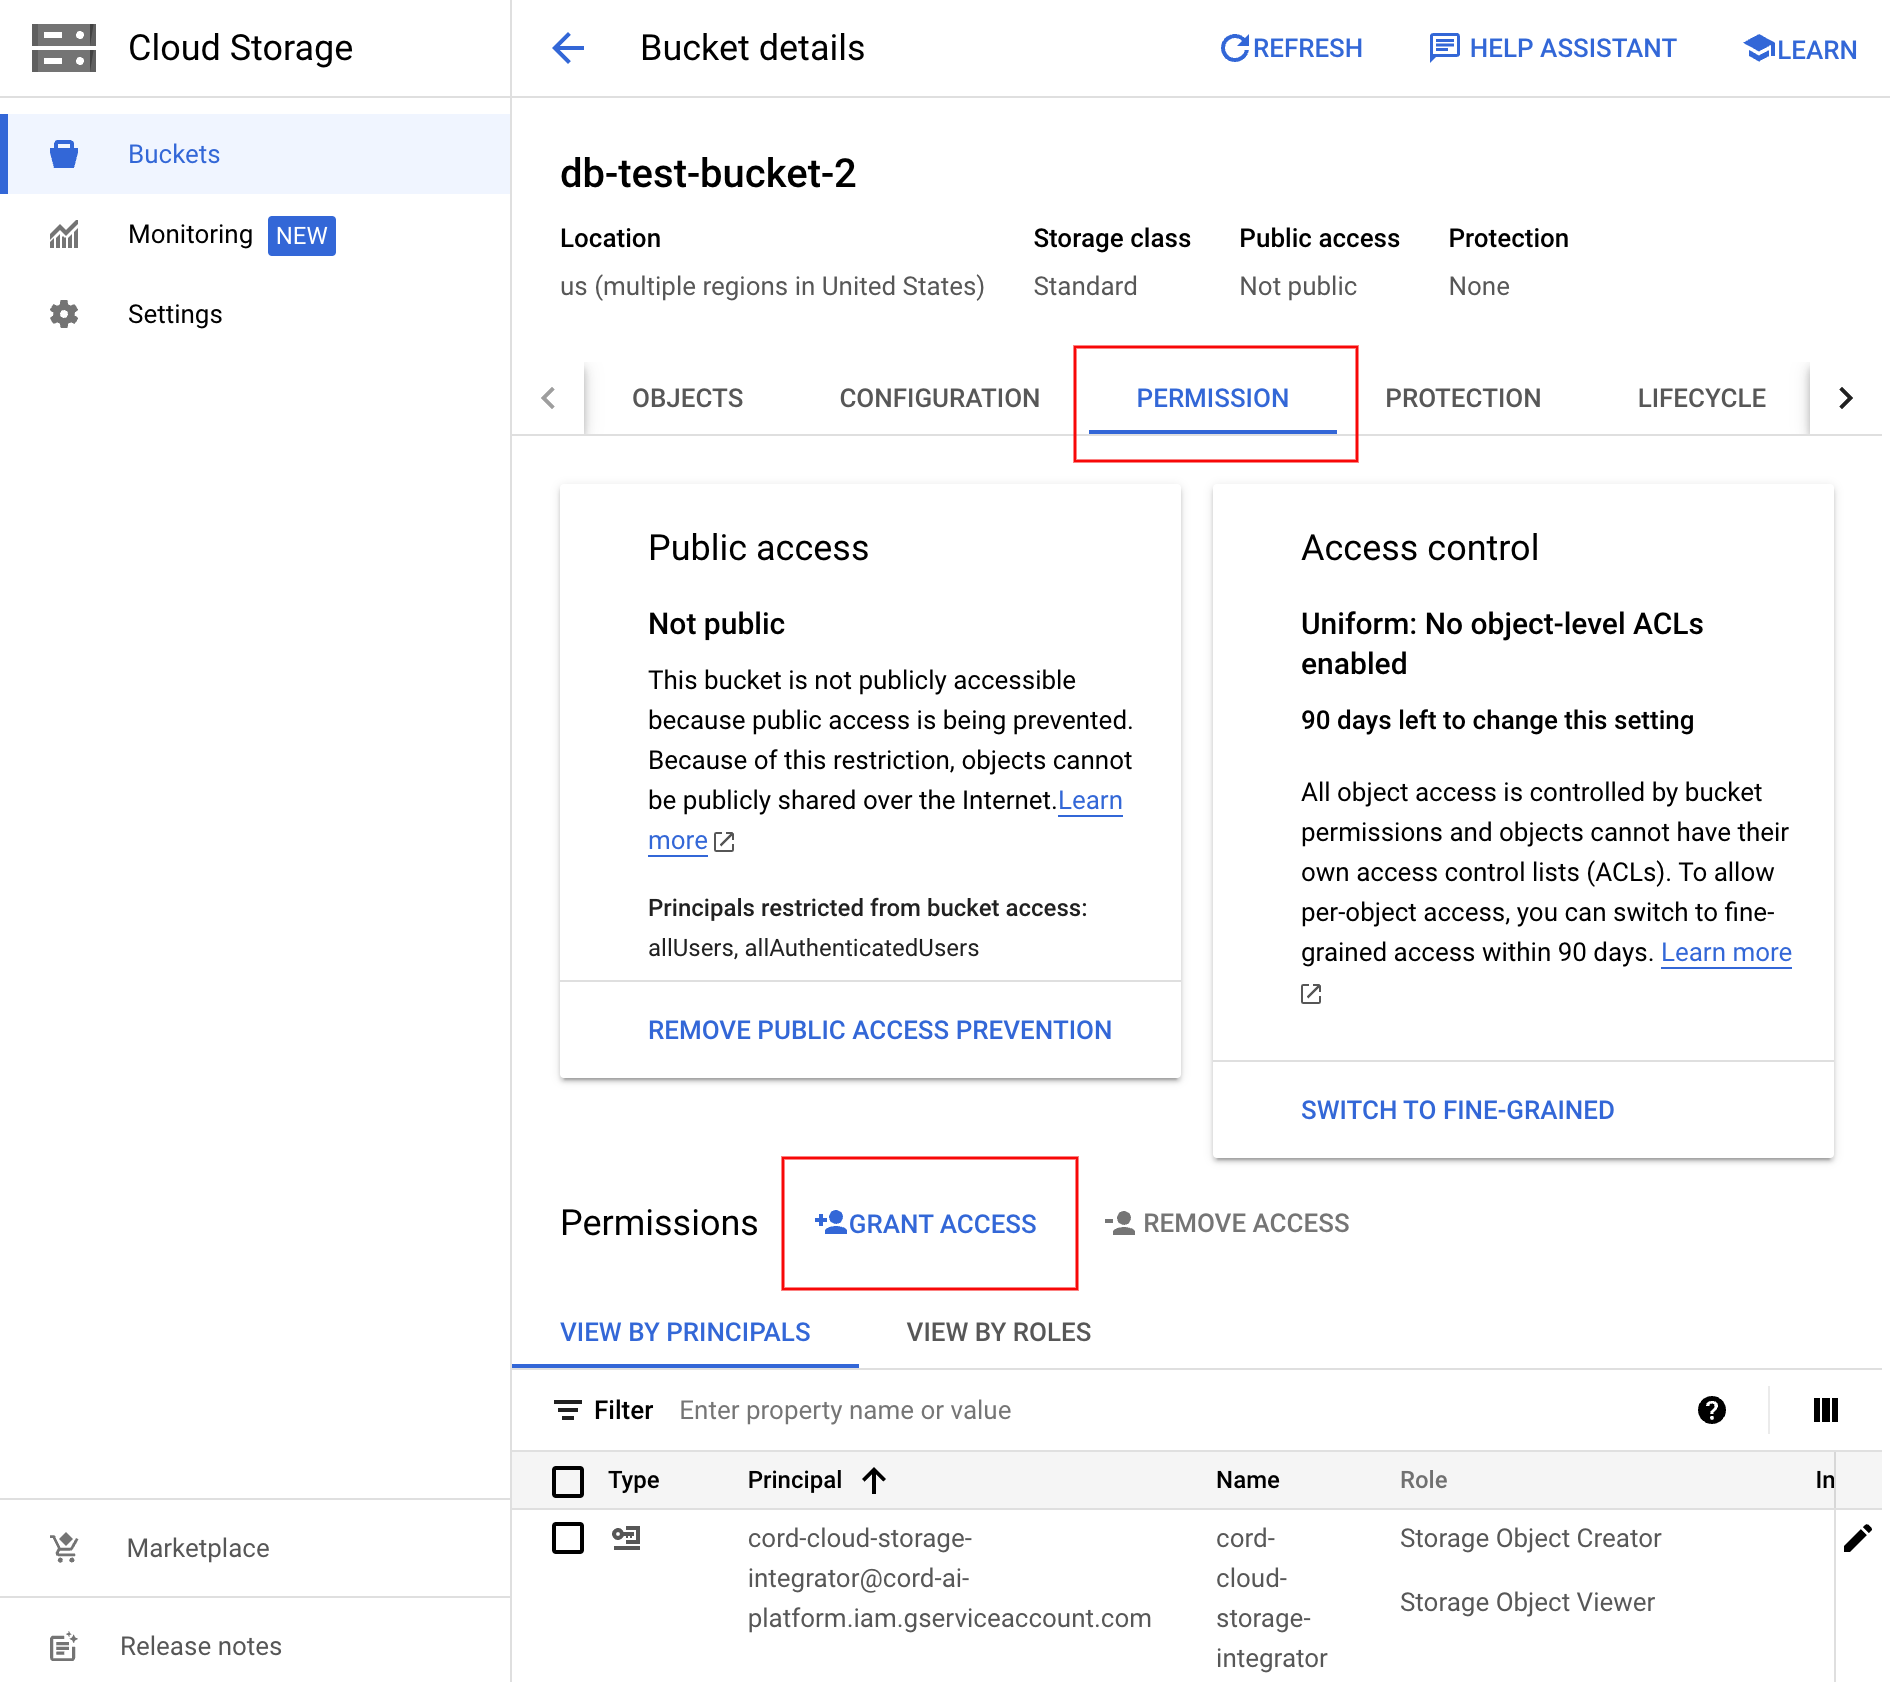
In the bucket's PERMISSION tab, click Grant Access to add a service account for encord.
Add 'cord-cloud-storage-integrator@cord-ai-platform.iam.gserviceaccount.com' as a New Principal and assign the following roles:
Storage Object Viewer
Storage Object Creator
Creating a CORS configuration
A CORS configuration needs to be applied to the bucket you wish to integrate with Encord. This will enable your user's browsers to request resources from the specified bucket.
Example gsutil command
Below is an example gsutil command to be used in your command line or terminal to create a CORS configuration.
The only way to create a CORS configuration is using the command line, or terminal tool.
gsutil cors set example_cors_file.json gs://example_bucket
- Replace 'example_bucket' with the name of the bucket you wish to integrate.
- Replace 'example_cors_file' with the name of your CORS file. A sample JSON file is provided.
JSON configuration file
Below is a simple JSON file that should work with your GCP bucket.
[
    {
      "origin": ["https://app.encord.com", "https://api.encord.com", "https://dicom.encord.com"],
      "method": ["GET"],
      "responseHeader": ["Content-Type"],
      "maxAgeSeconds": 3600
    }
]
- Preflight requests are valid for 1 hour. Use the maxAgeSeconds variable to adjust the number of seconds the browser is allowed to make requests before it must repeat the preflight request.
- Successful browser requests return the Content-Type of the resource in the response, as set by the responseHeader.
To customize the file further please consult the GCP documentation.
2. Creating the integration on Encord
Now that your GCP storage has been set up and configured, you are ready to create an integration in Encord.
Navigate to the Encord App and select Settings from the dropdown on the top right. Open the Integrations tab.
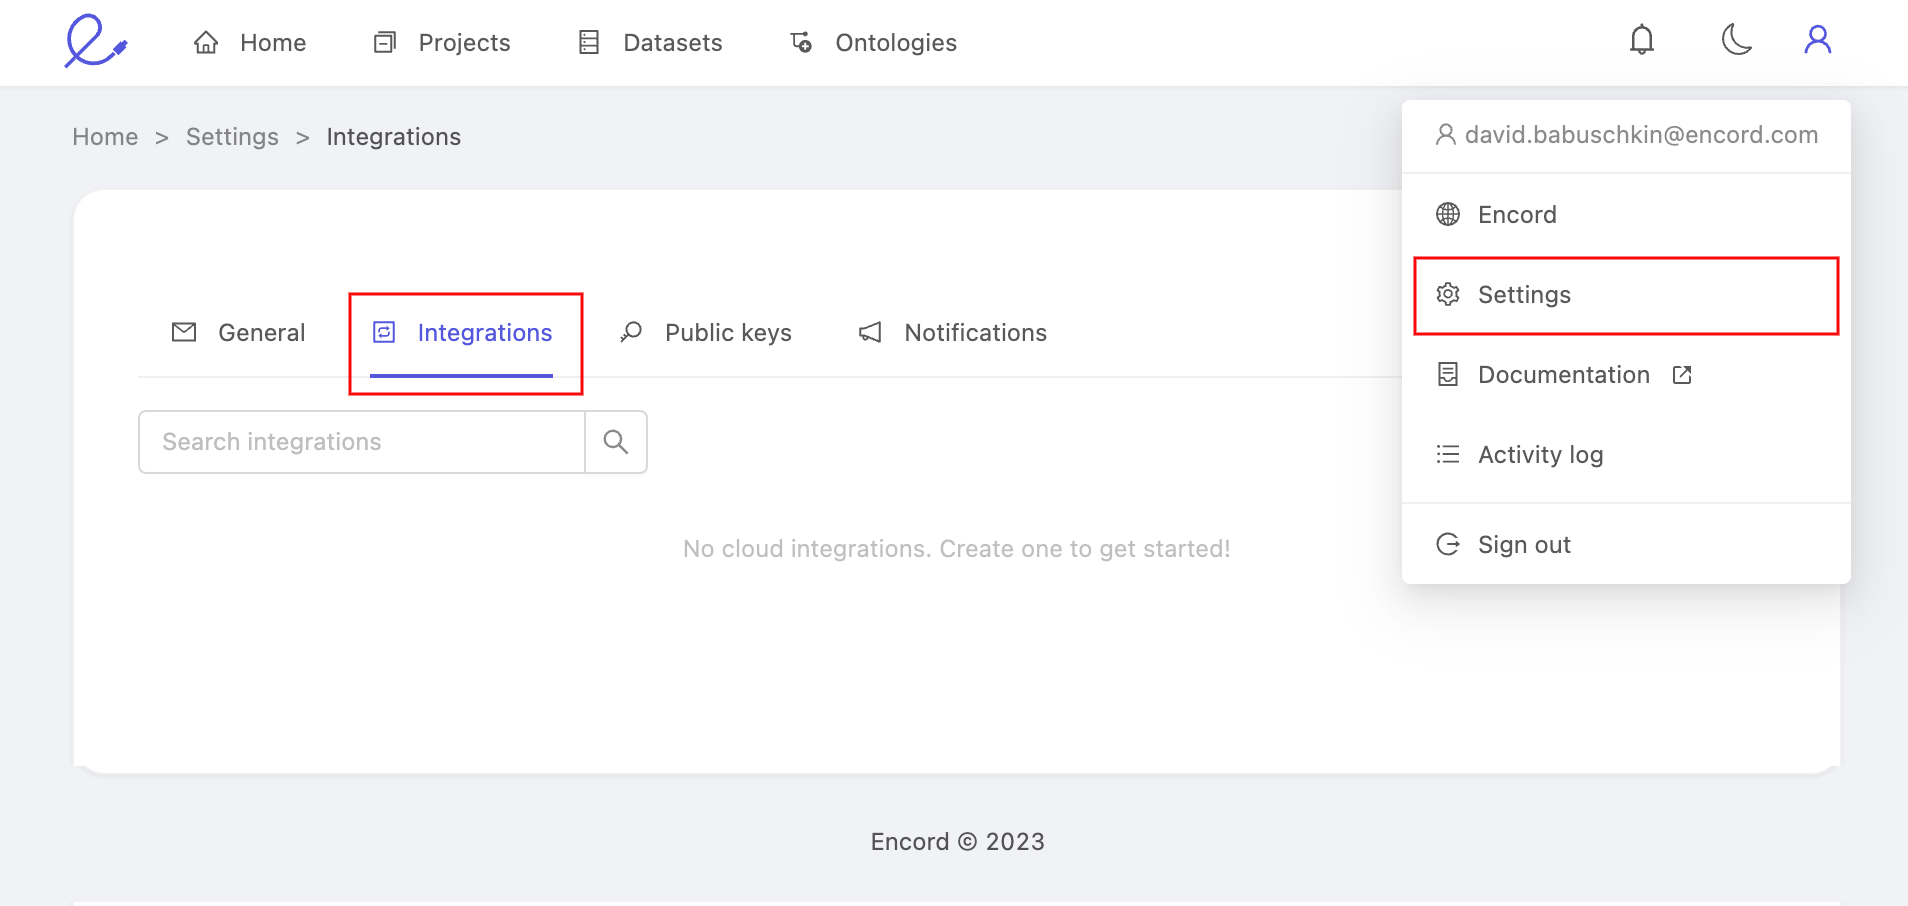
Click + Add integration
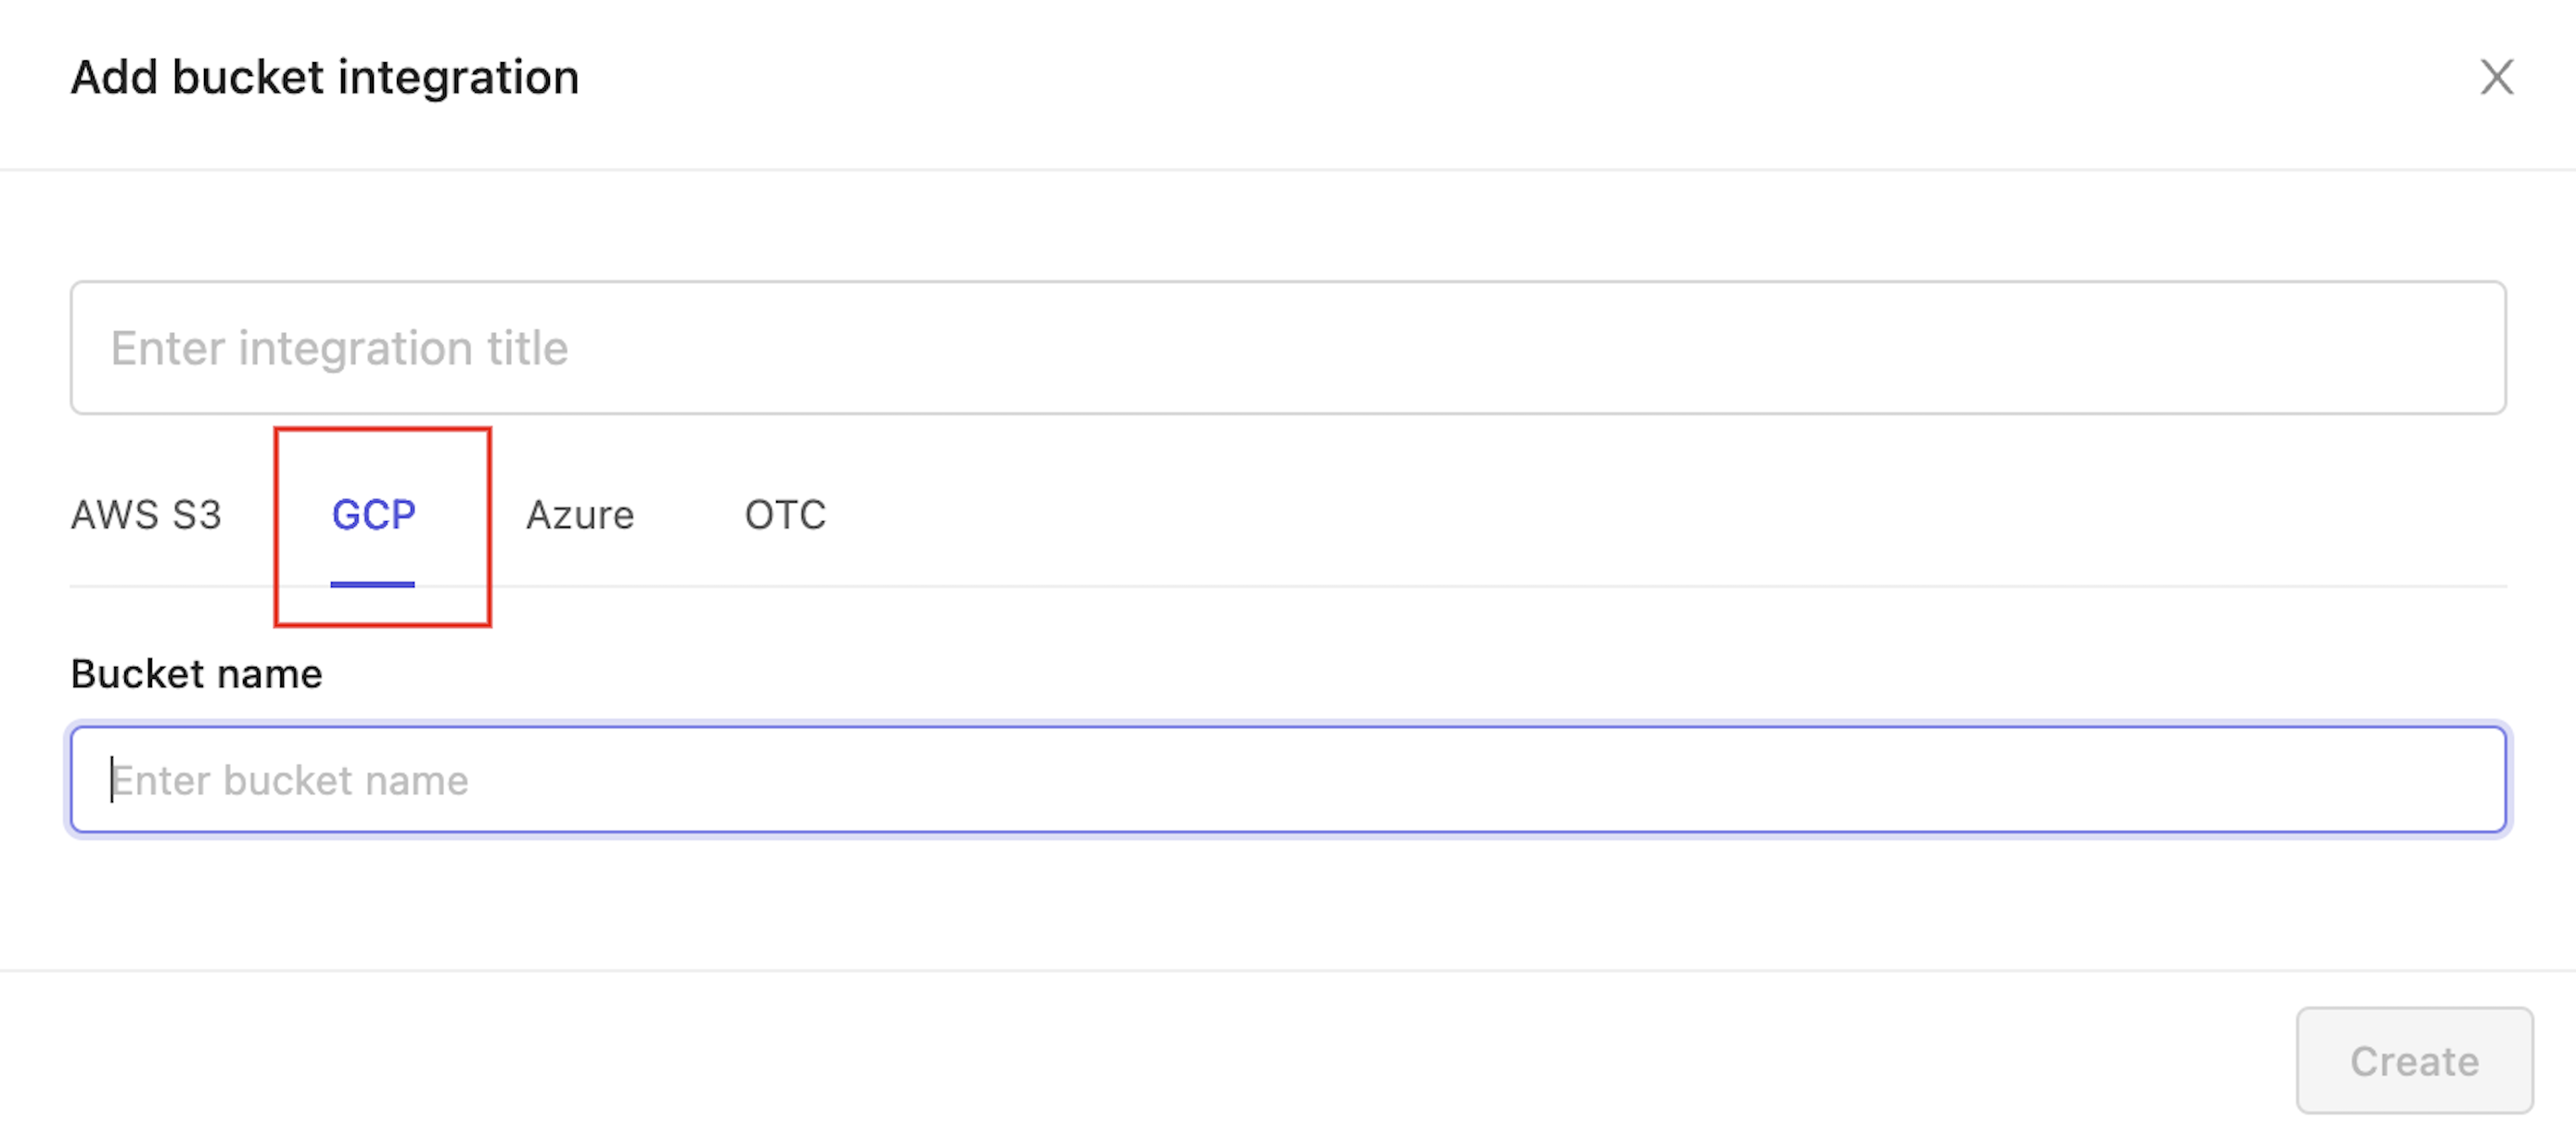
Create the integration by selecting GCP, choosing a name for the integration and entering the name of the bucket you wish to make available.
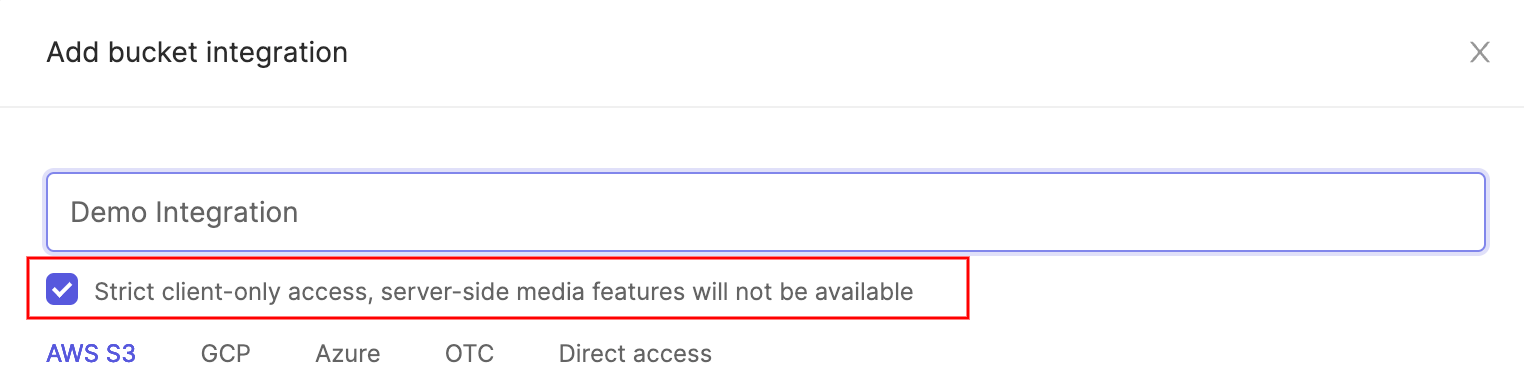
Optionally check the box to enable Strict client-only access, server-side media features will not be available if you would like Encord to sign URLs, but refrain from downloading any media files onto Encord servers. Read more about this feature here.
Click Create to create the GCP integration.
3. Testing your integration
To test that Encord can sync with your GCP bucket, click on the sync icon next to the red bin icon.
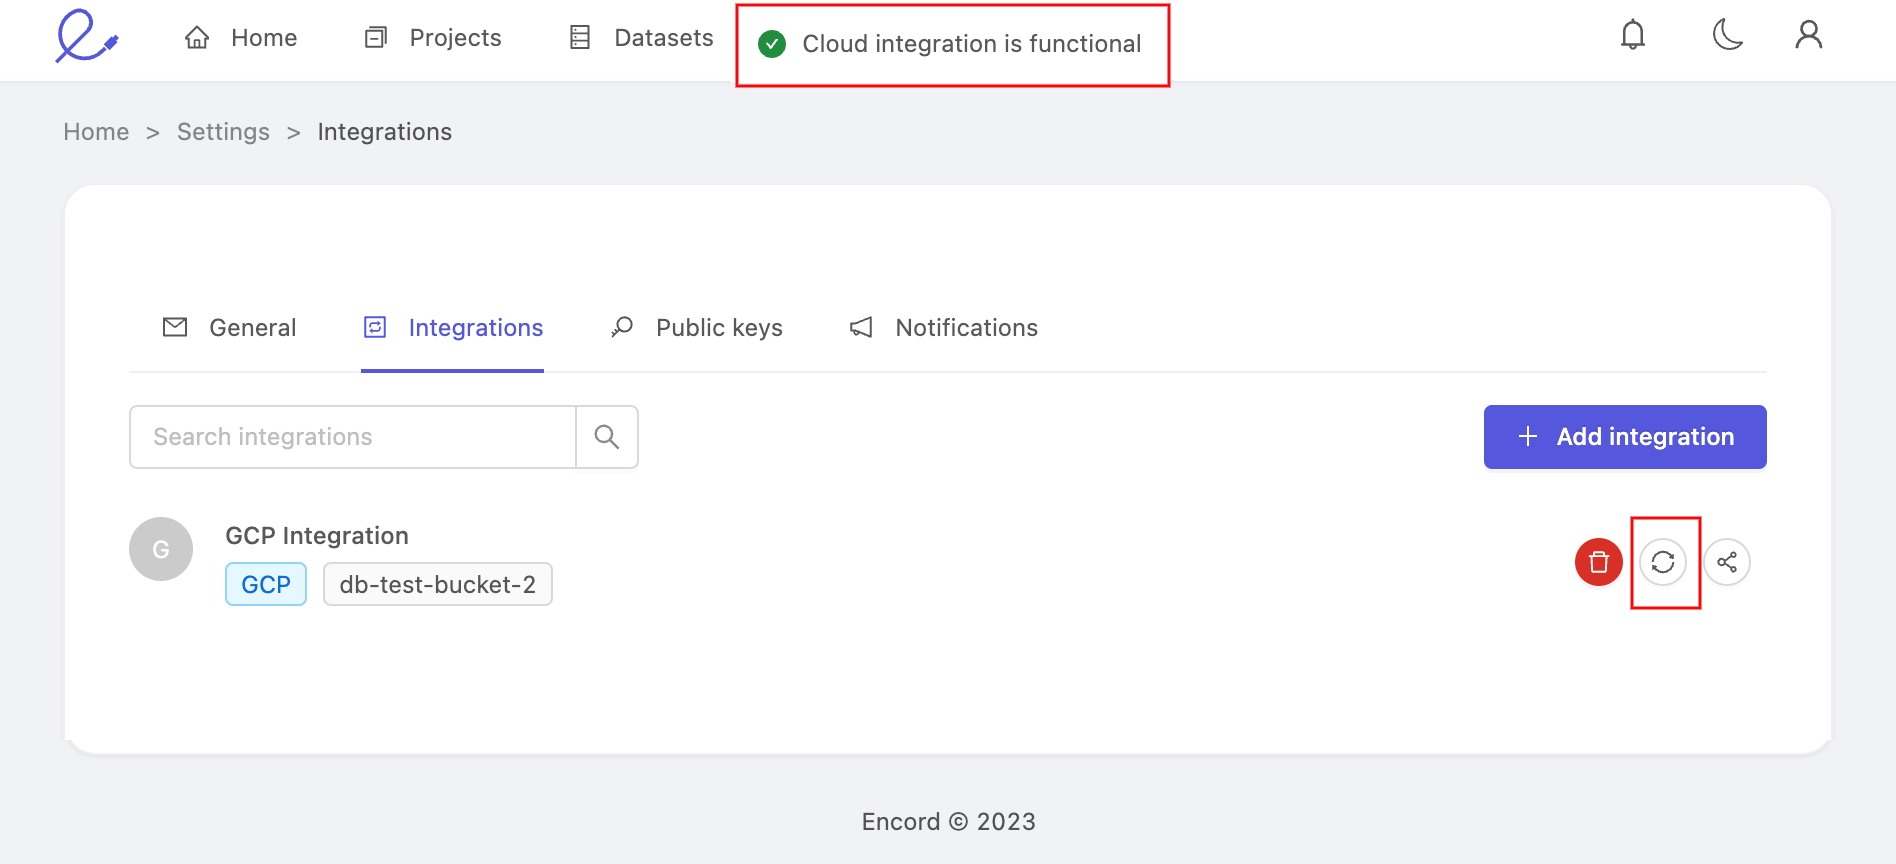
If the sync is successful, you will see a message saying that the integration is functional.
4. Creating a dataset with GCP data
Please navigate to the private cloud integration page for guidance on how to create a dataset with data stored in GCP.