Workflows
Tired of creating the same workflow over and over again? Try creating templates of your most commonly used workflows - and attach these to any new workflow project during project creation!
Creating a new workflow template
There are two ways of creating a workflow template:
- In the Workflows section.
- While creating a workflow project.
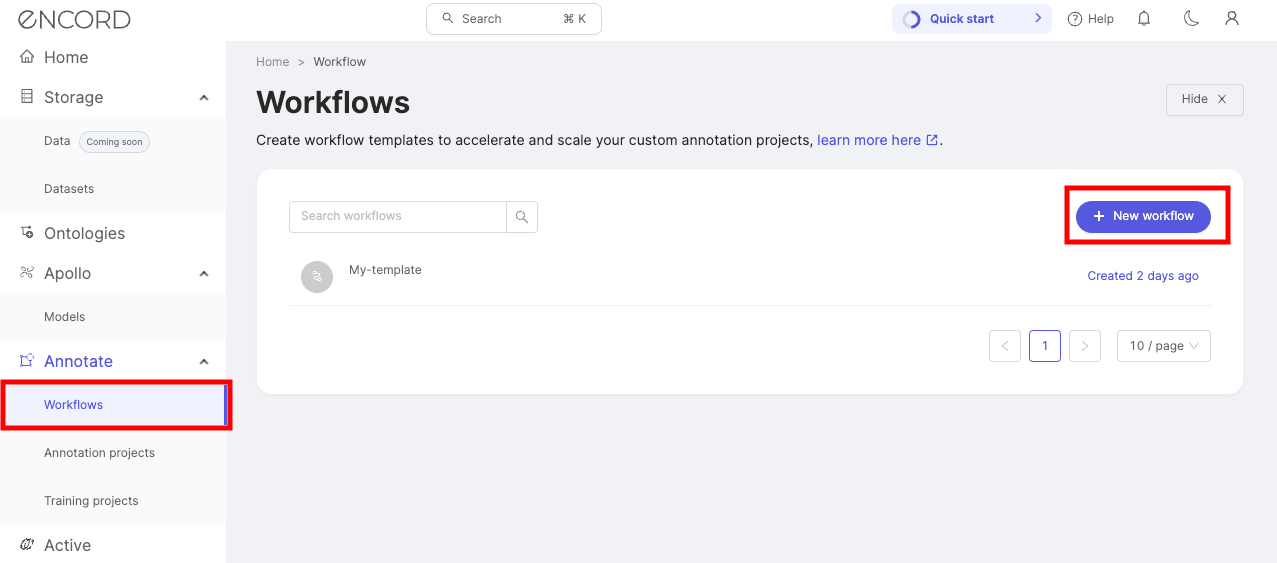
Creating templates in the Workflows section
Select Workflows from the Annotate section of the sidebar in the Encord web app, and click the + New workflow button. Previously created templates will be visible here, and can be edited when selected.
Create and configure your workflow template, give it a name, and then click the Create workflow template button when you are done. To learn how to create and configure workflows, see our documentation here.
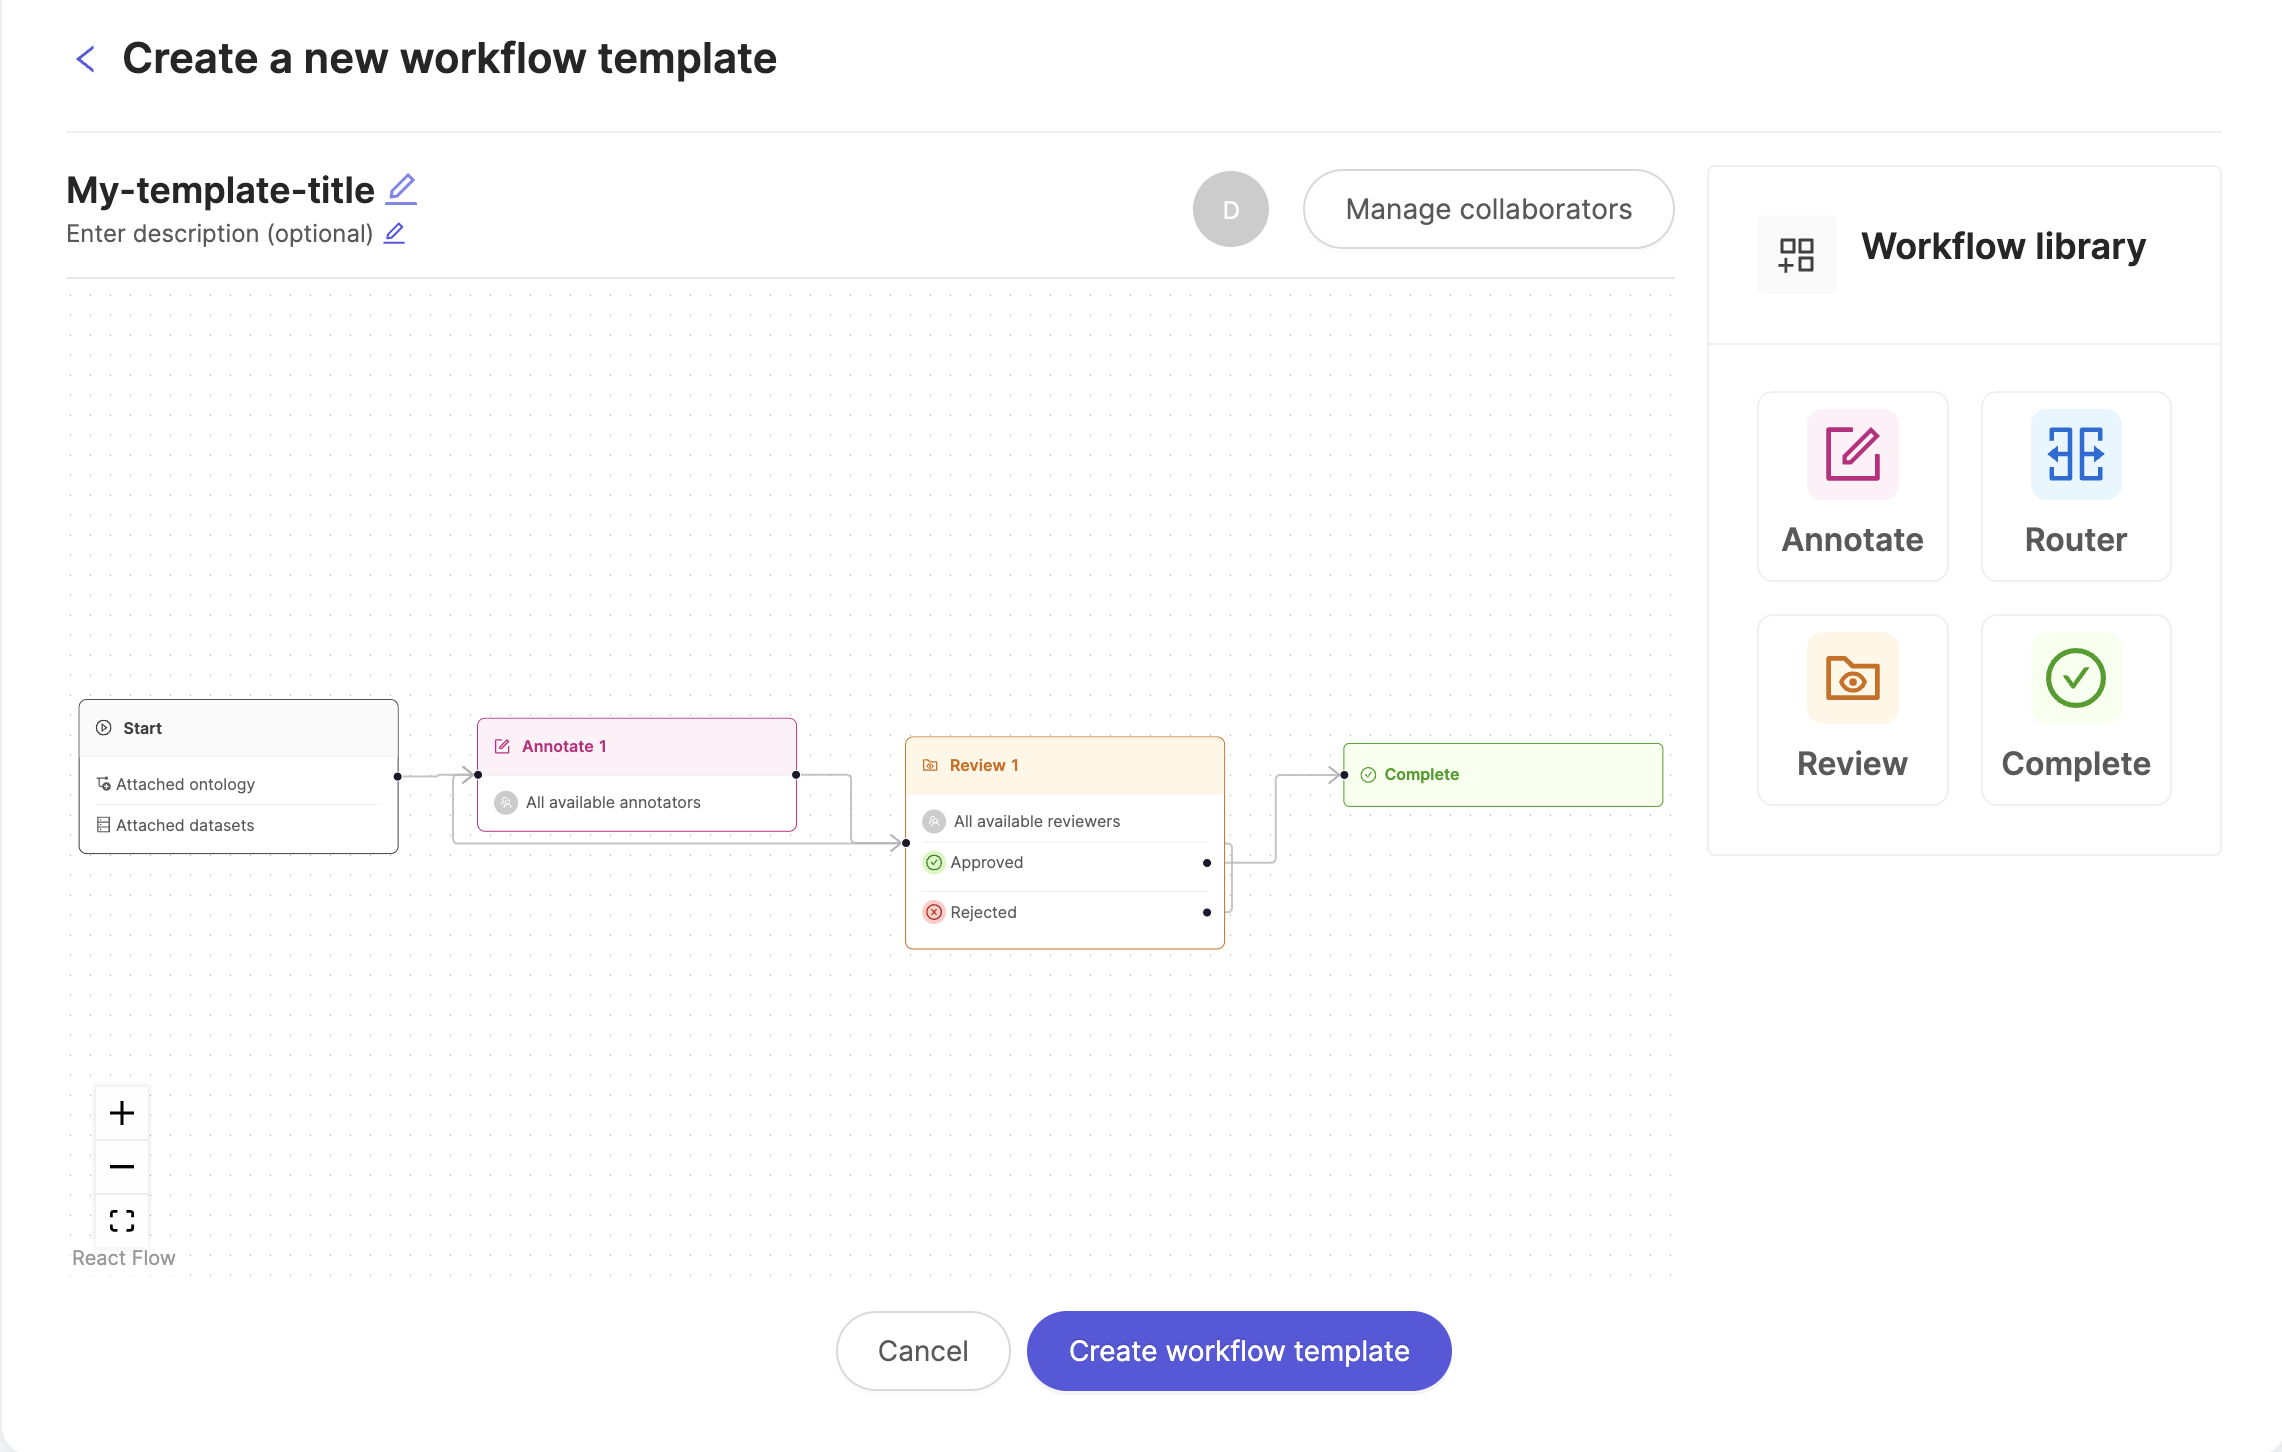
The Create workflow template button will be greyed out until:
- The nodes in your template have been connected.
- The workflow contains a Complete stage.
- The template has been given a title.
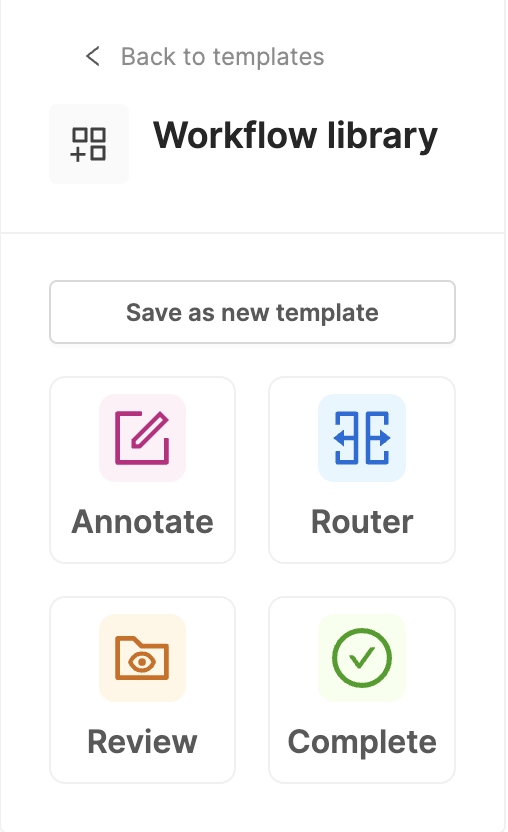
Creating templates during project creation
Templates can be created during the creation of a workflow project.
Click the + New workflow button to create a new workflow. Any workflow created can be saved as a template by clicking the Save as a new template button.
Editing existing templates
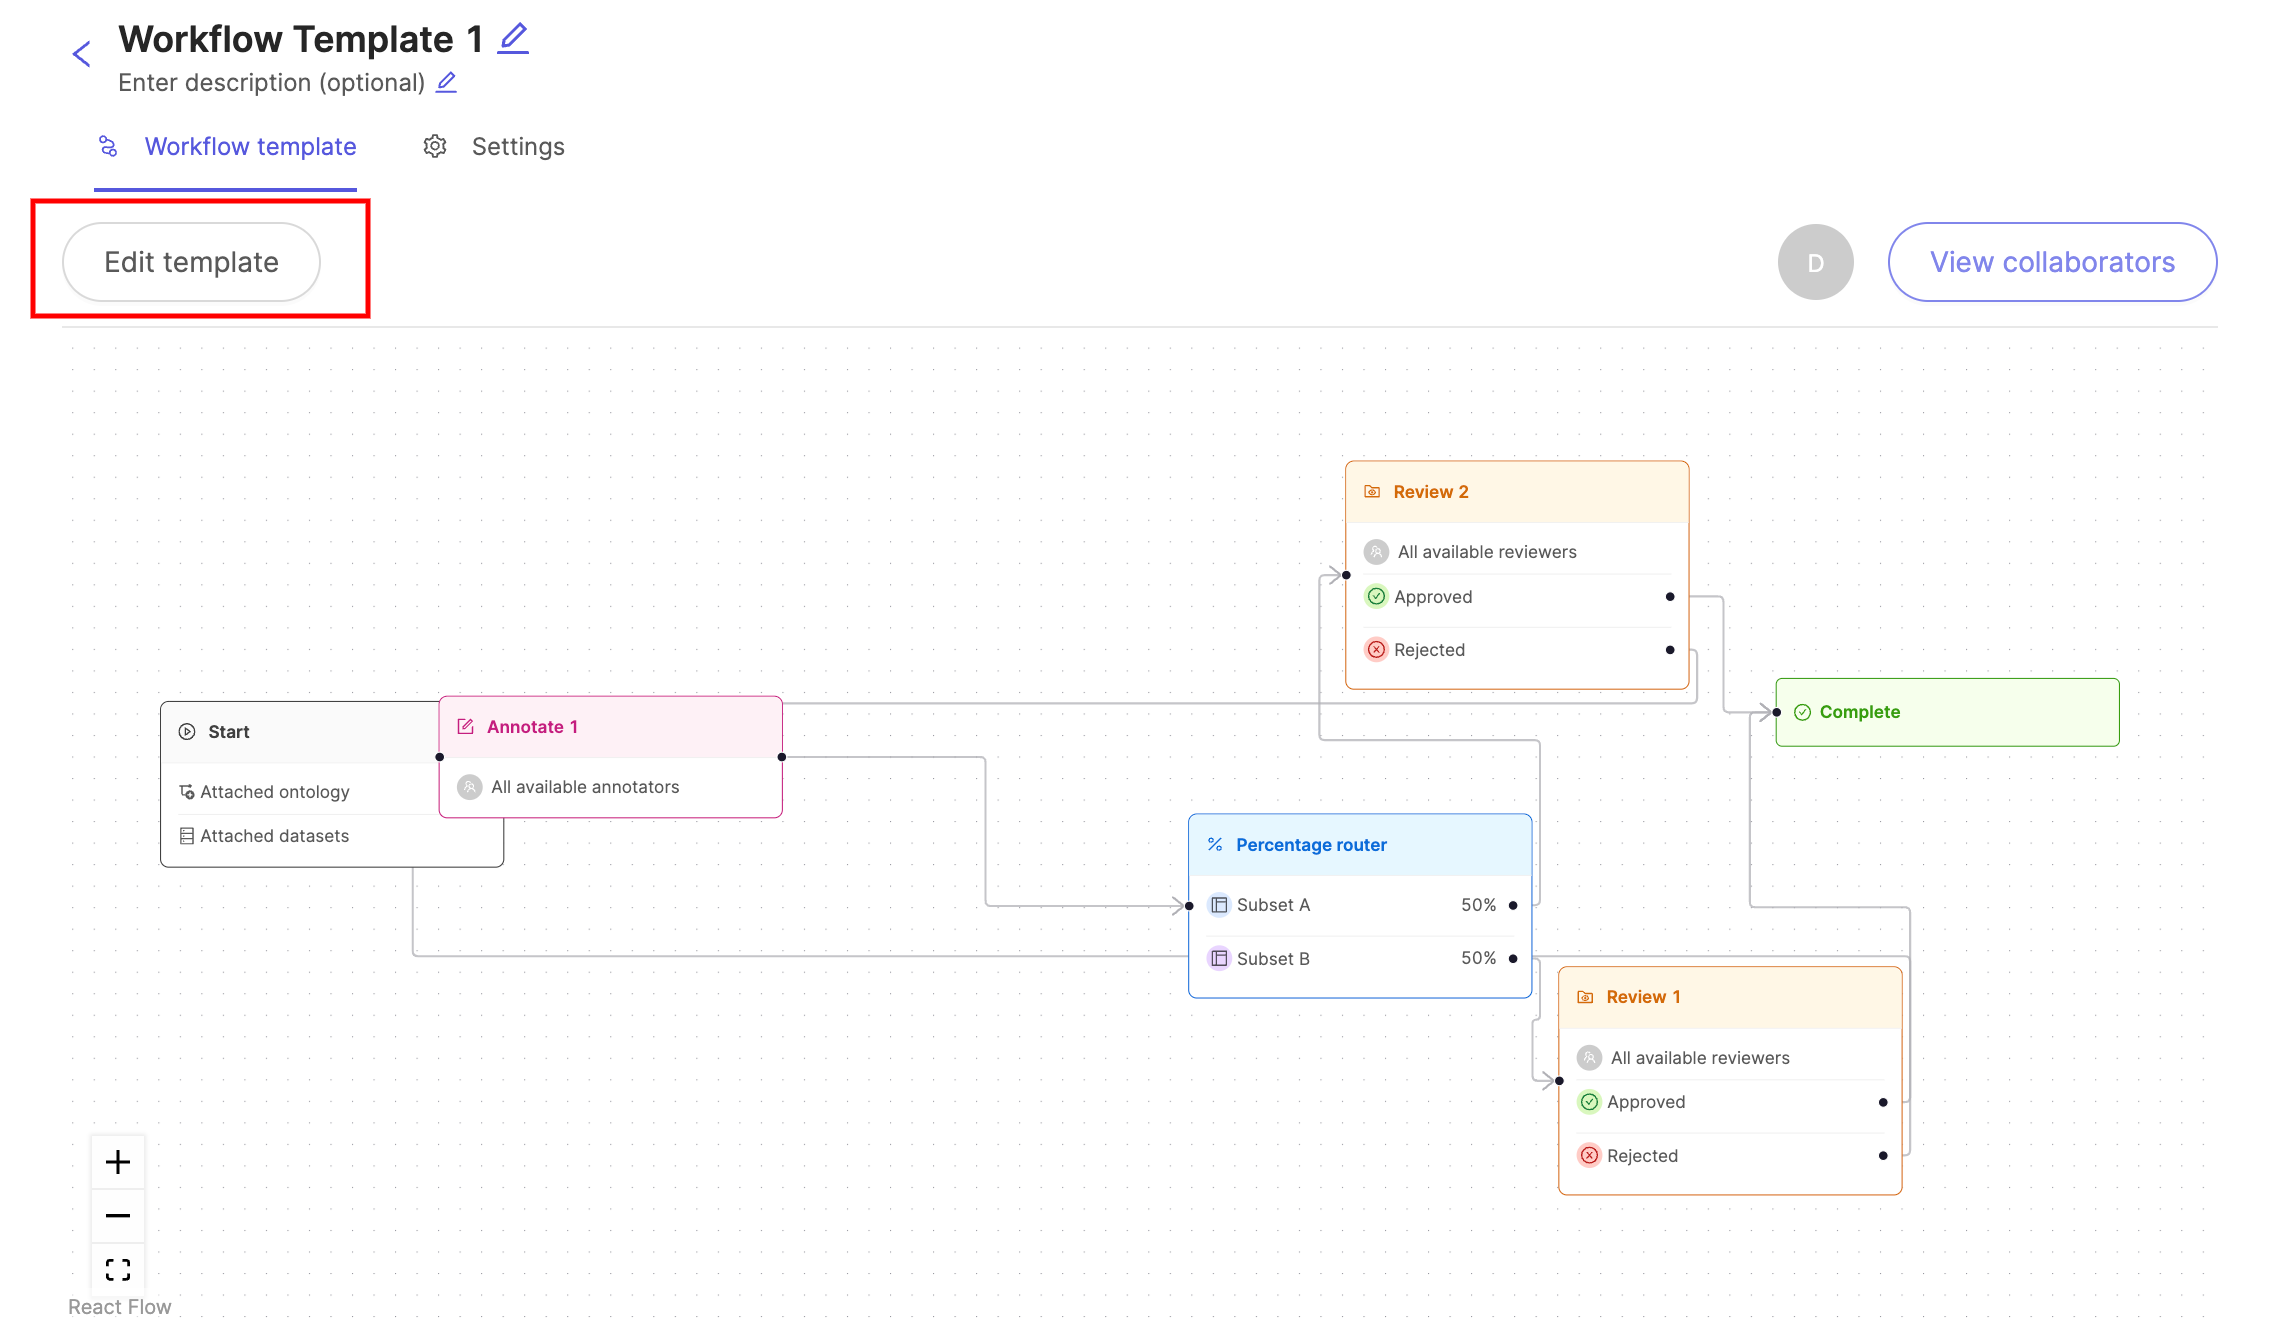
Workflow templates can be edited after they have been created. To do so, navigate to Workflows in the Annotation section of the sidebar in the Encord web app, and click the name of the template you wish to edit.
Click the Edit template button, as highlighted in the image below.
Initial Start and Annotate nodes can't be edited.
Once you've made all your edits, click the Save template changes button.
The Save template changes button will be greyed out until:
- The nodes in your template have been connected.
- The workflow contains a Complete stage.
- The template has been given a title.
Using workflow templates in projects
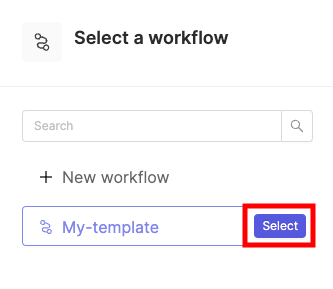
Workflow templates can be used during project creation. To do so, click name of the template you would like to use and click the Select button.
For more information on creating workflows, see our documentation on creating and configuring workflow projects.
Customizing workflows
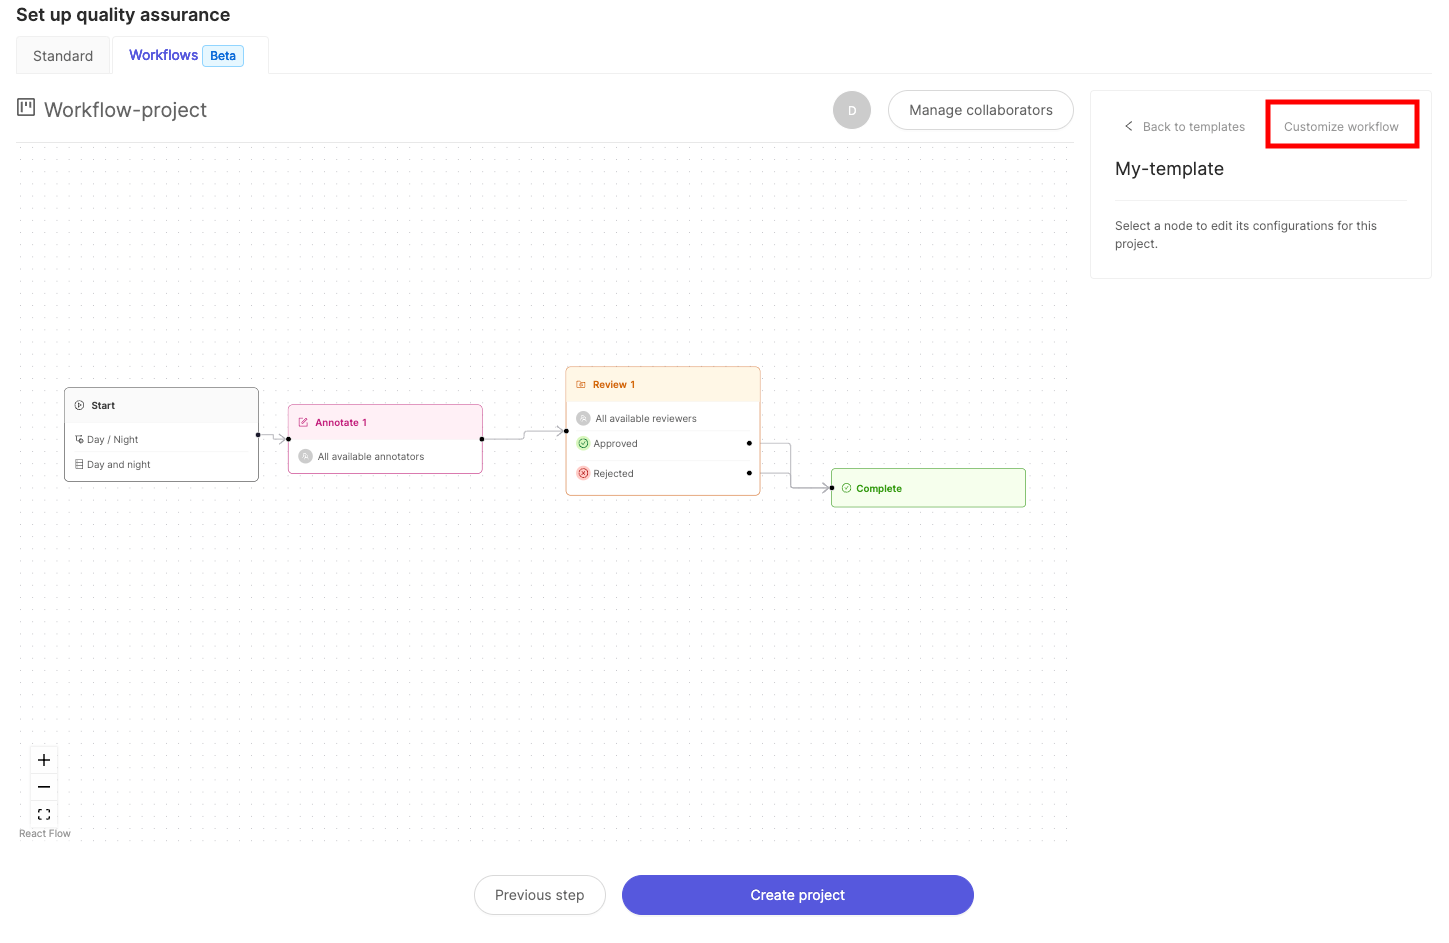
You can customize a workflow template to suit a project's specific needs. After selecting a template during project creation, as described in the section above, click the Customize workflow button to edit.
Workflow settings
Teams
Collaborators can be added to workflows as either a Viewer or an Admin.
- Viewers only have the ability to view workflows.
- Admins are able to edit workflows - as described in the section on editing workflows above.
None of the roles will be able to collaborate on projects that use this workflow.
It is important to distinguish collaborators on workflows as described here, from collaborators that have been added to a particular workflow, as described in the document on creating and configuring workflows.
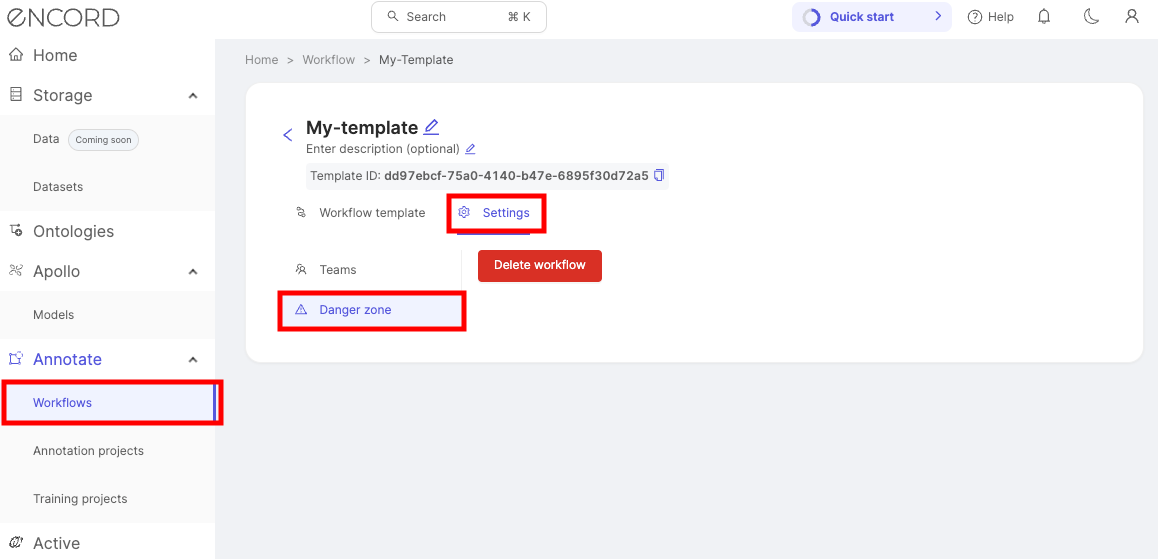
Deleting workflows
To delete a template:
- Navigate to Workflows in the Annotate section of the sidebar.
- Select the template you would like to delete.
- Click the 'Settings' tab and navigate to 'Danger zone'.
- Click the Delete template button to delete the template.