Organization dashboard
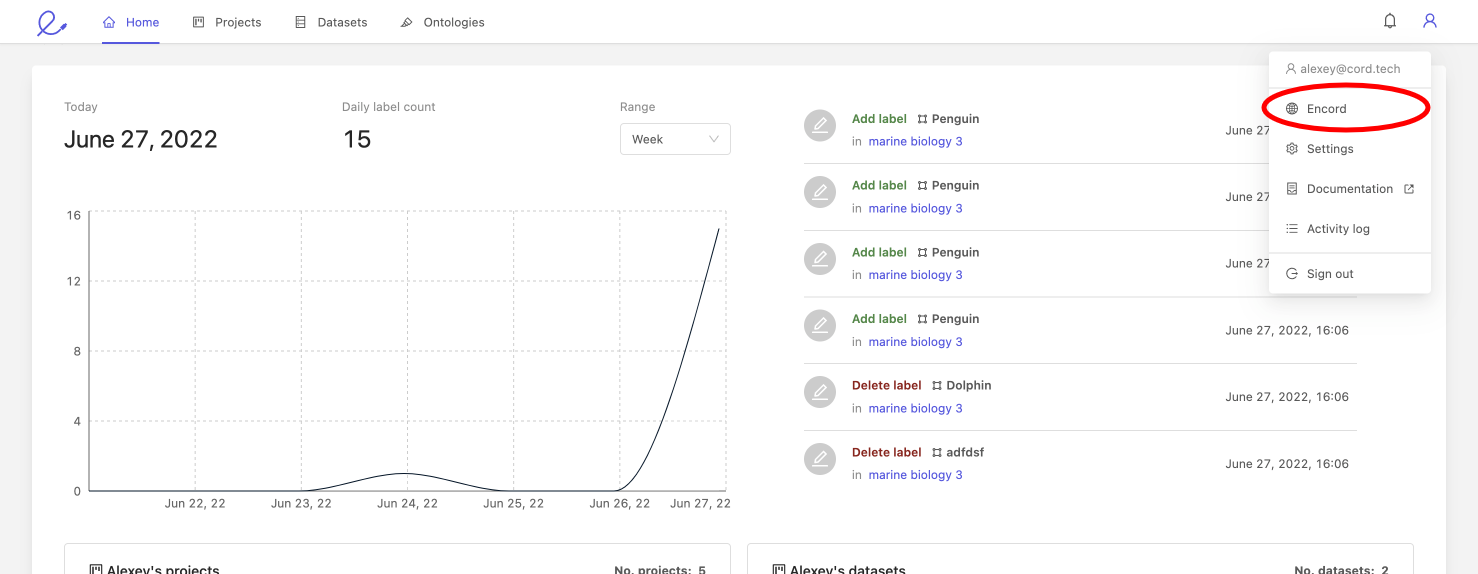
To navigate to your organization dashboard page, click the 'User area' icon in the top right and select your organization name. You will start at your organization's user directory.
In the example below, the user is a member of 'Encord', therefore 'Encord' appears as the organization name in the drop-down menu.
If you do not see your organization name after clicking the user icon, please contact us.
The organization dashboard
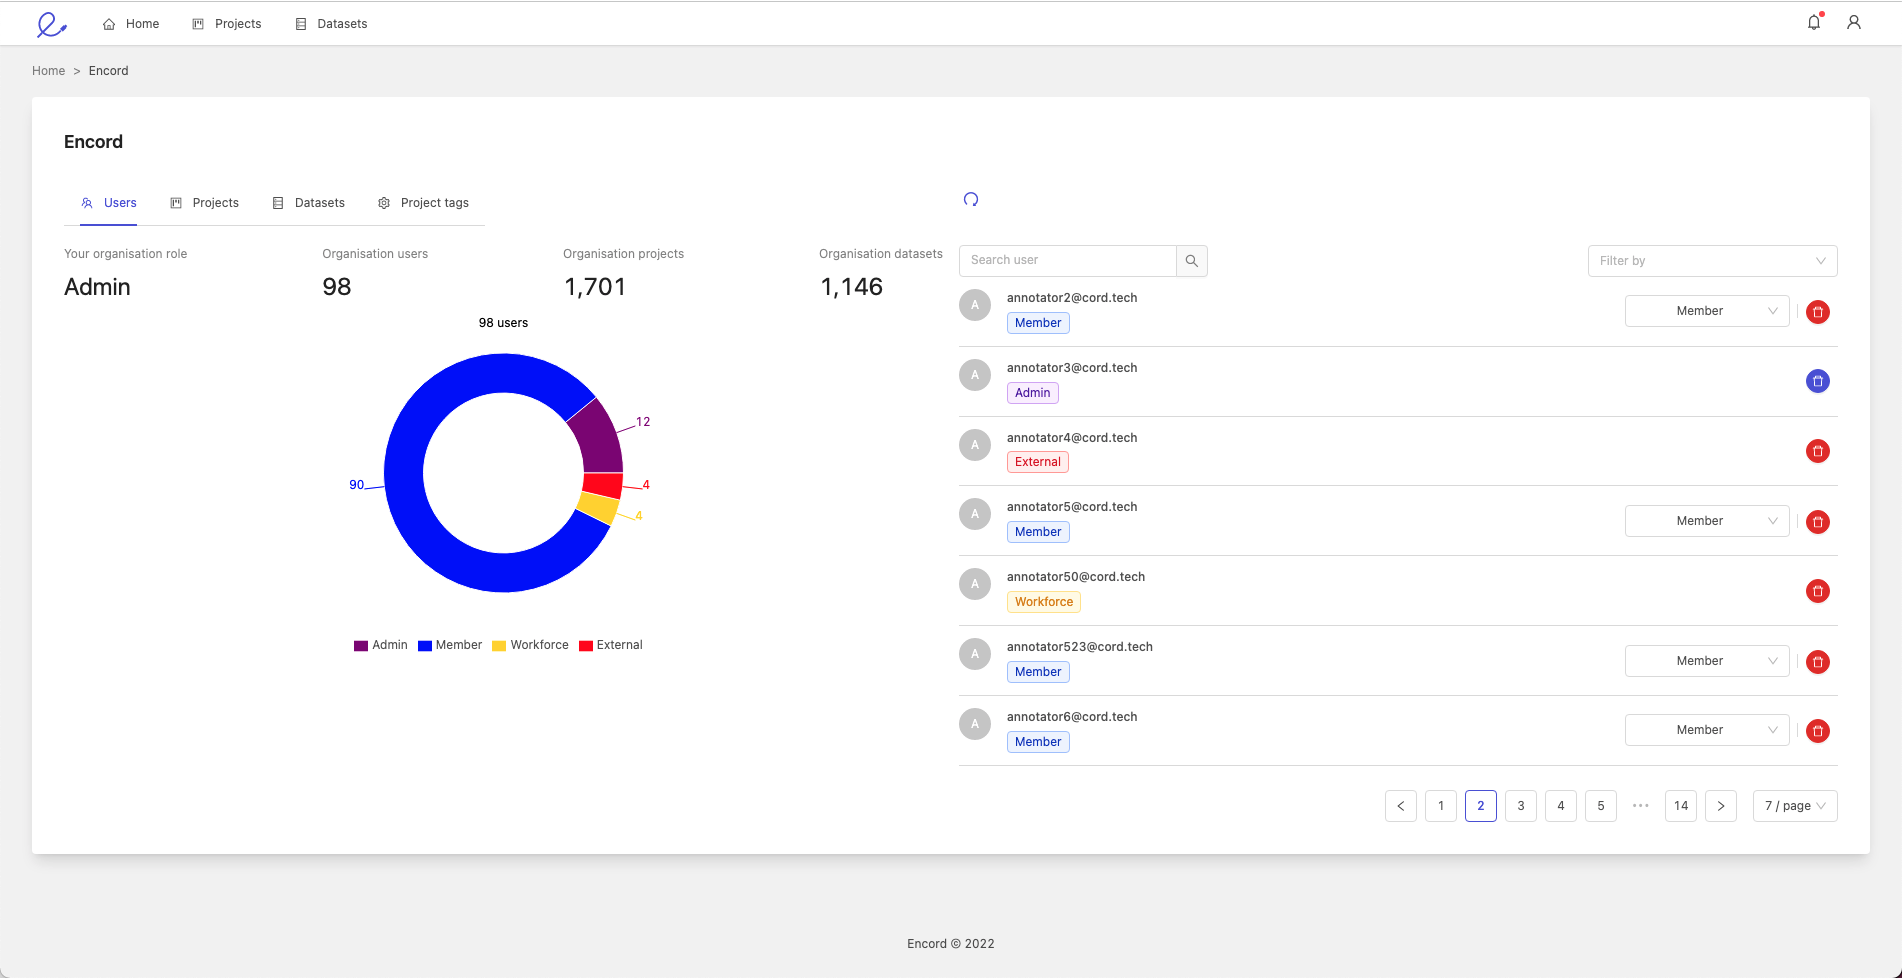
The organization dashboard allows you to view your organization's users, projects and datasets. This dashboard is limited to internal members only so your user role in your organization dashboard will always be either 'Admin' or 'Member'. Workforce and external users cannot view your organization.
Users tab
The 'Users' tab is the first tab in the organization dashboard. Admins can use this tab to view and edit users in their organization. Members are limited to just viewing the list of users.
Admins can take the following actions on users:
- Convert internal users to admins
- Remove users from the organization
Convert a member to an admin
To convert a member to an admin, select 'Admin' from the drop-down menu next to their email.

Please confirm or cancel your selection when making this change.
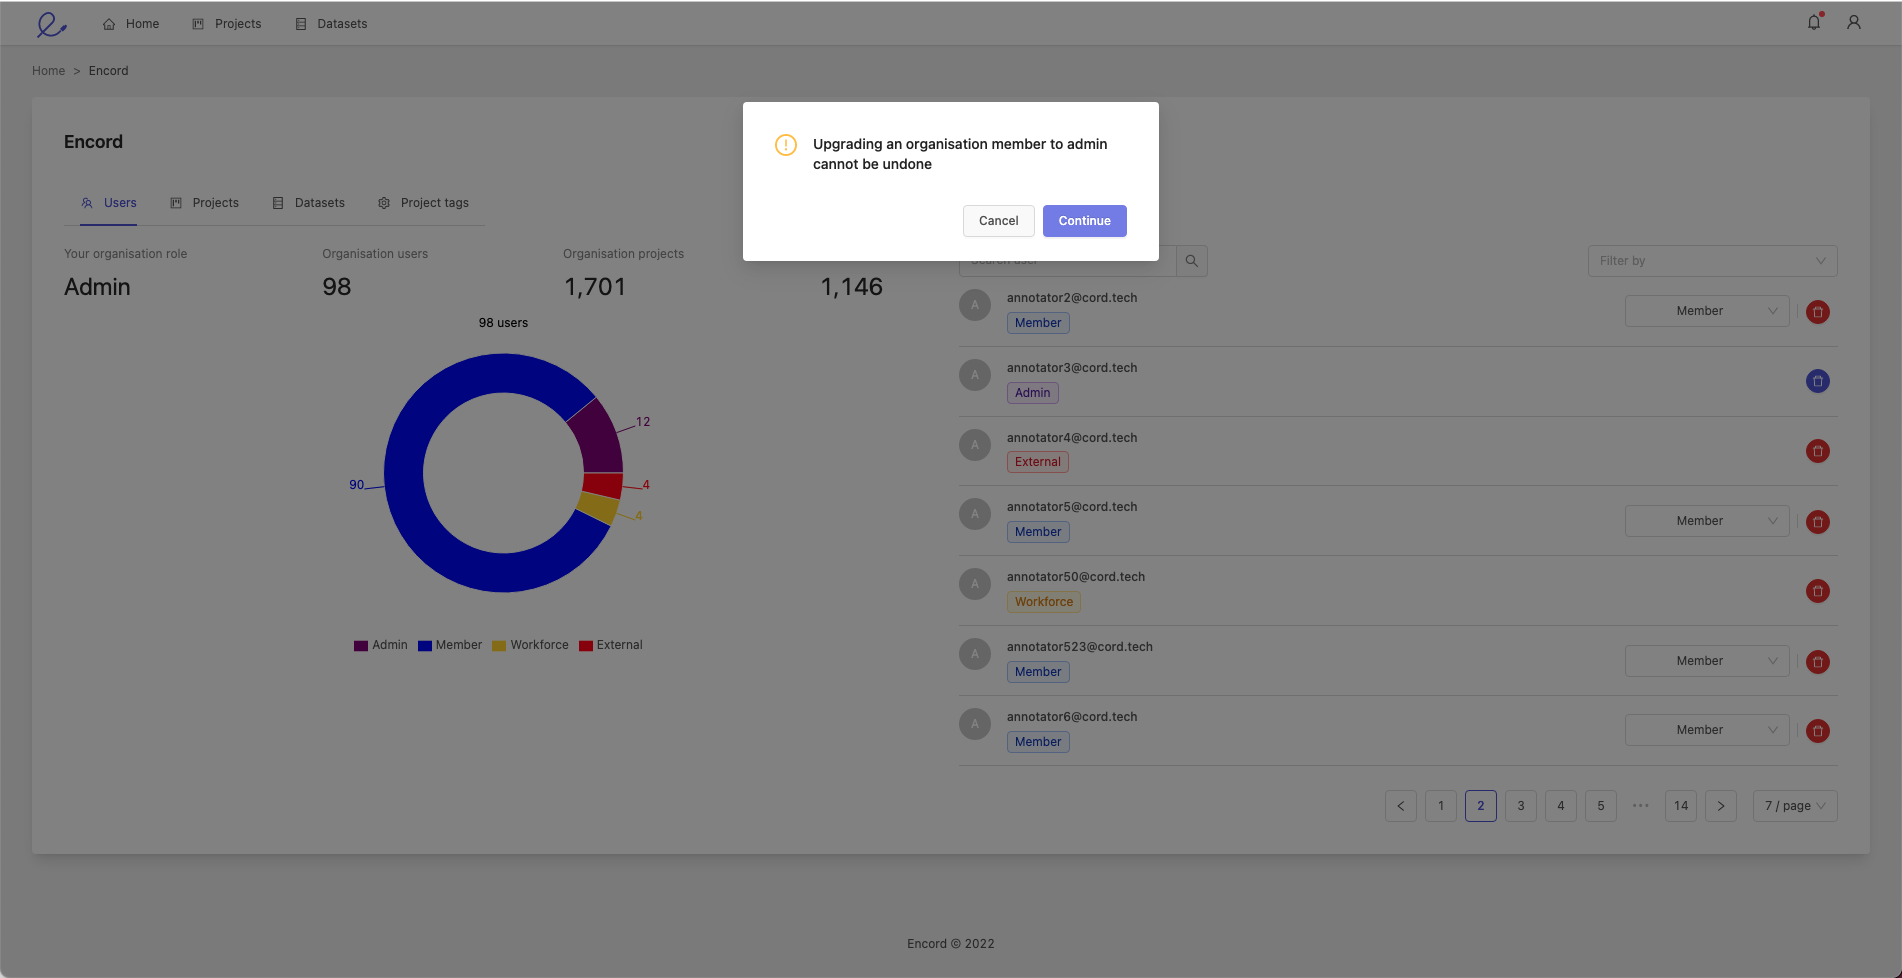
You cannot convert workforce or external users to admins.
Removing a user from an organization
To remove any non-admin user from an organization, navigate to the user you want to remove and click the red delete icon on the right.
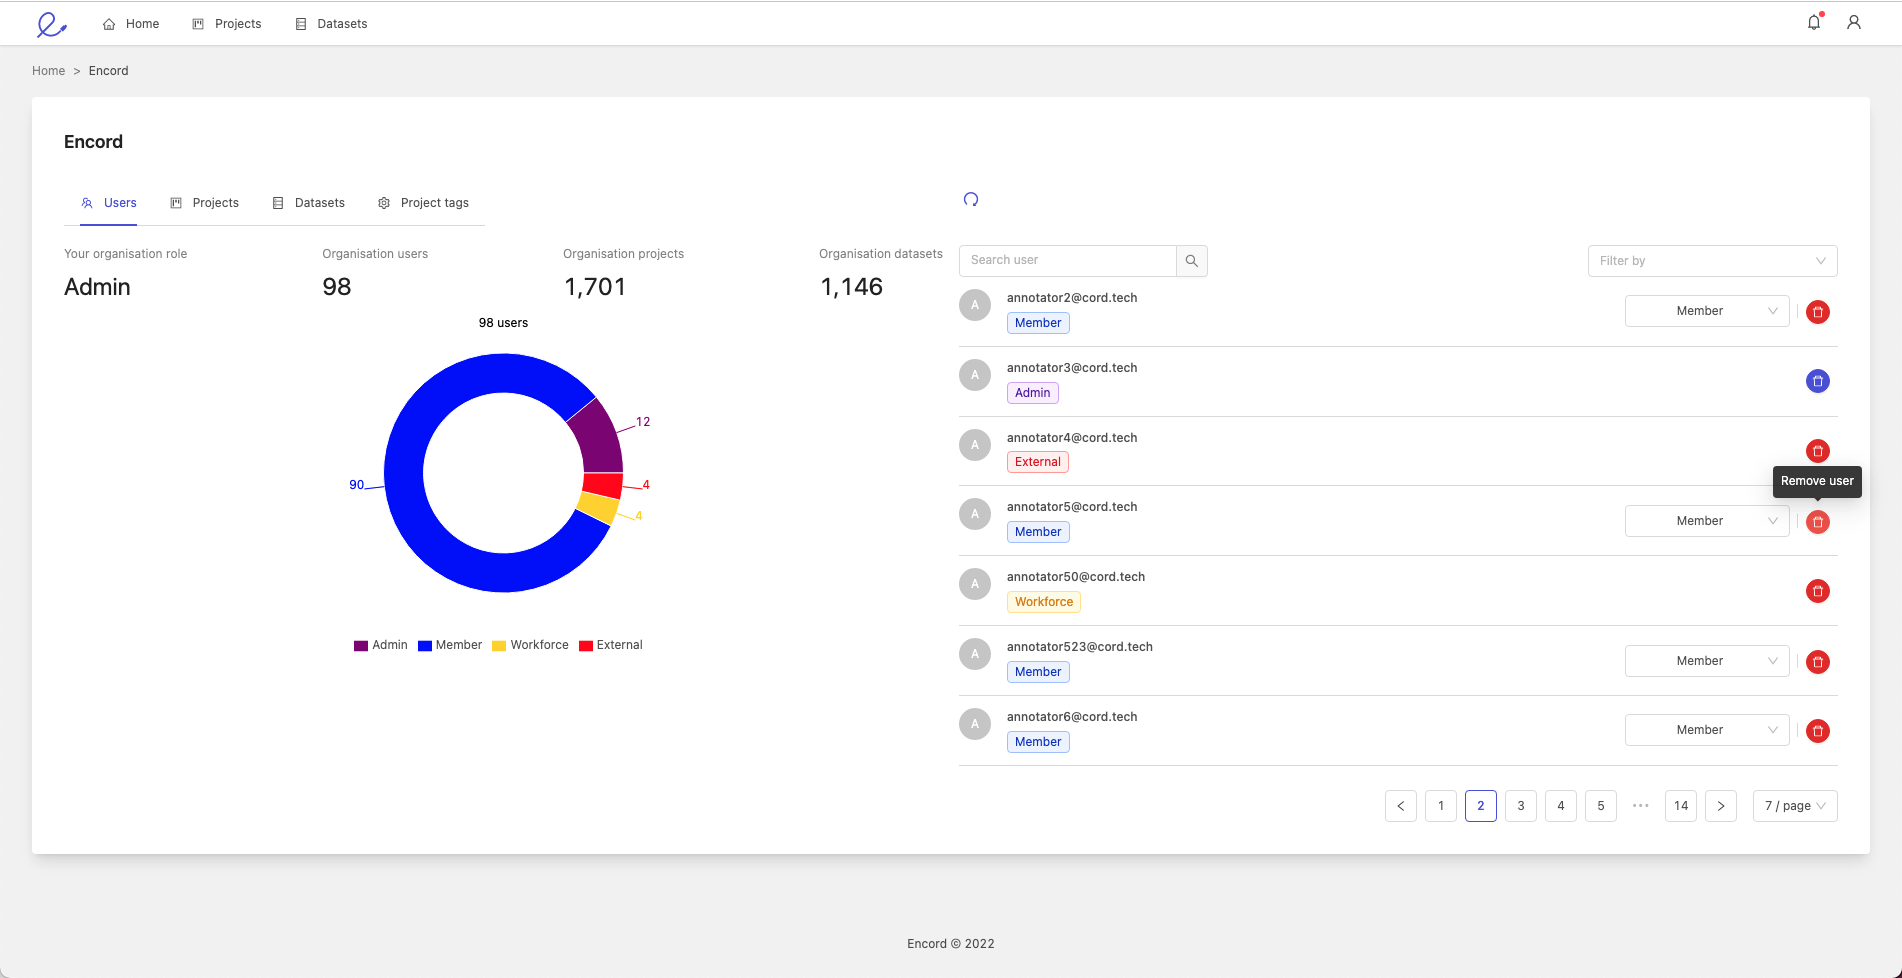
The next steps will depend on whether or not the user to be removed is currently the sole admin for any projects or datasets for the organization.
If the user in question is the sole admin from your organization for any projects or datasets, you will be prompted to select a replacement user from your organization.

The selected user will become the admin for all of the relevant projects and datasets. Once you have selected a replacement user, click the Save button and the user will be removed from the organization.
You cannot remove admins from the organization. Contact Encord if you need help with admin users in your organization.
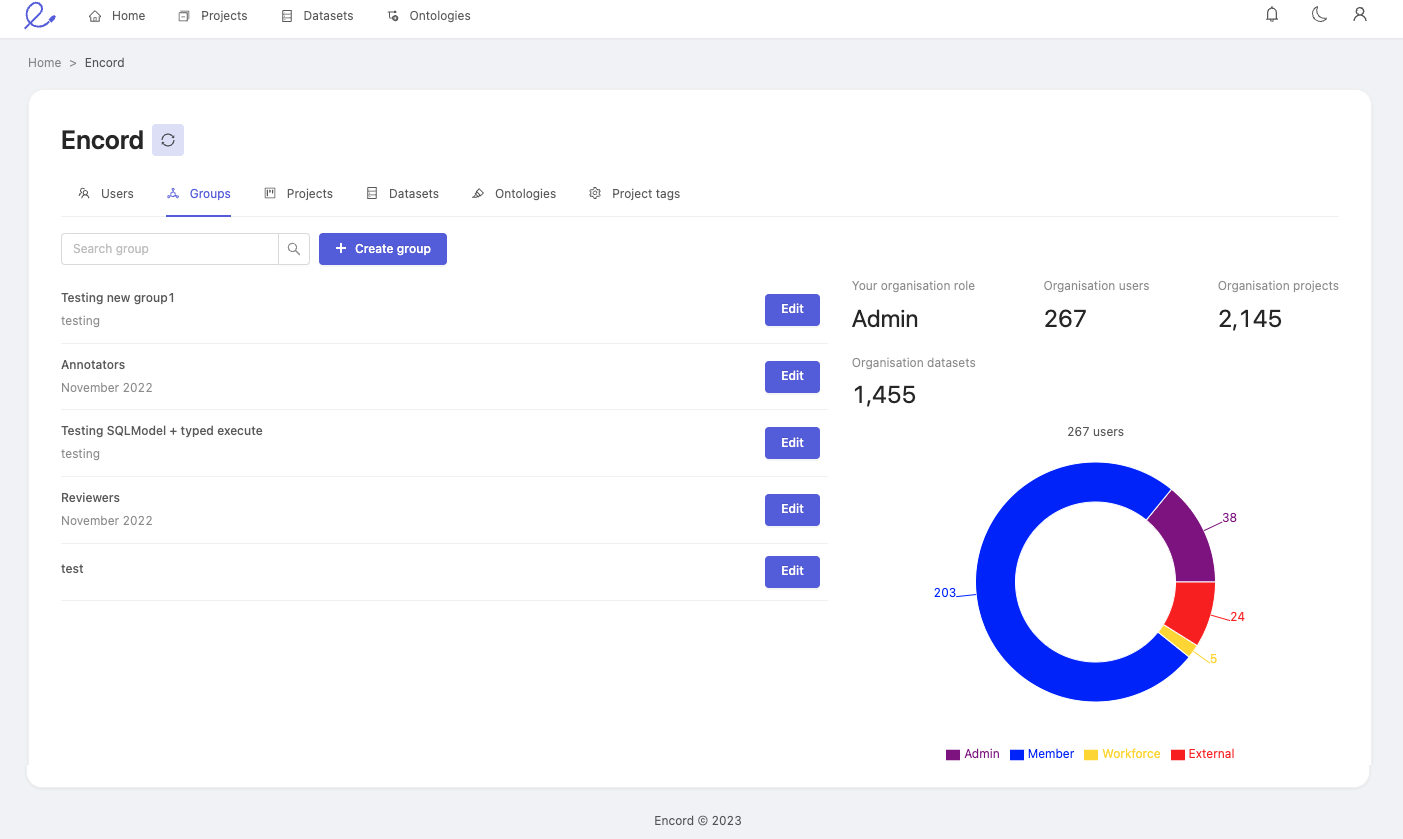
Groups tab
The 'Groups' tab allows you to create user groups within your organization. User groups are collections of members which can be added to projects as a group, rather than individuals.
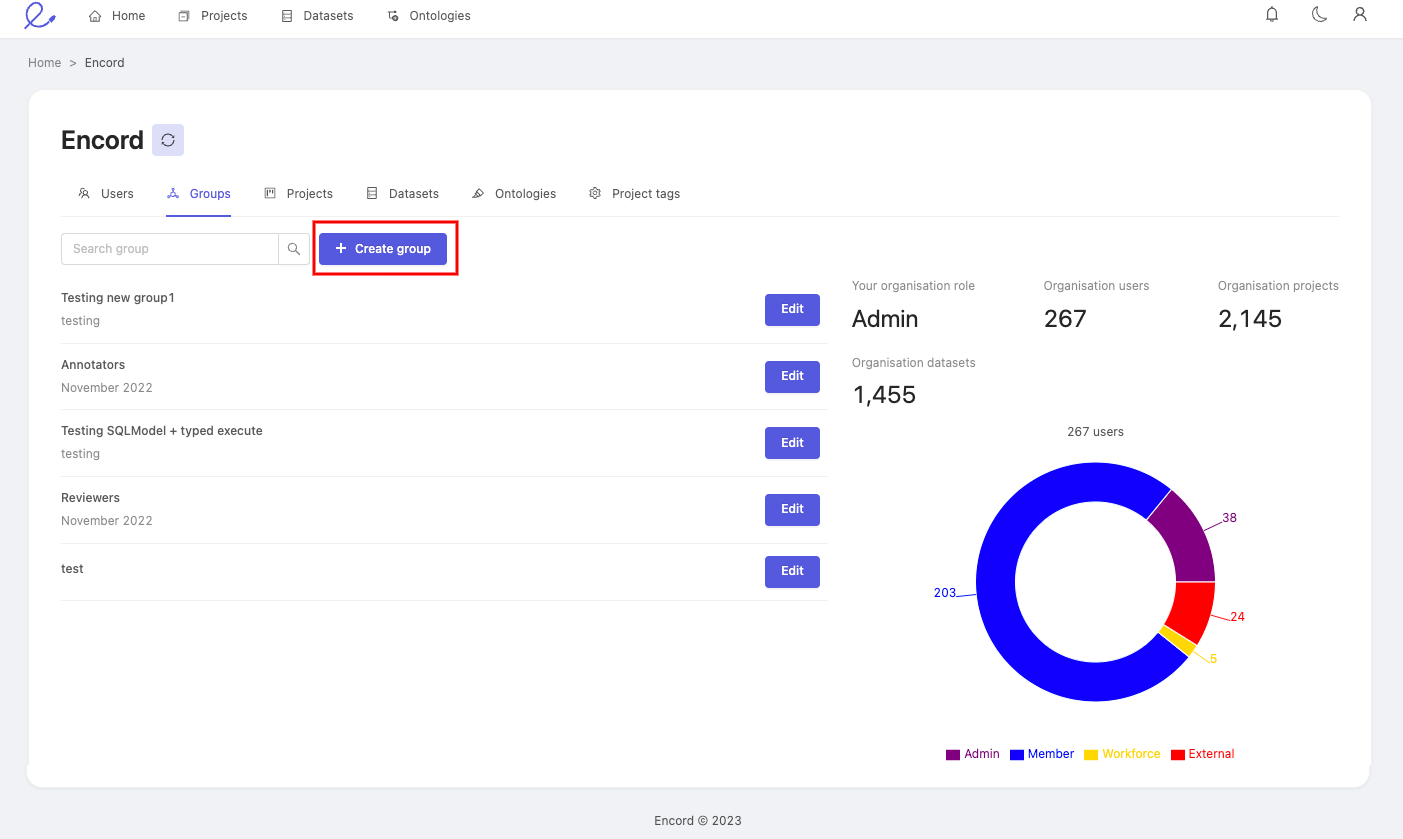
Creating user groups
You have to have admin privileges within your organization to create user groups.
To create a new user group, click the +Create group button.
On the pop-up, give your group a name, and click 'Select group members' - highlighted in the image below - to select members of your organization you wish to add to your group. Click Add to add a group member.
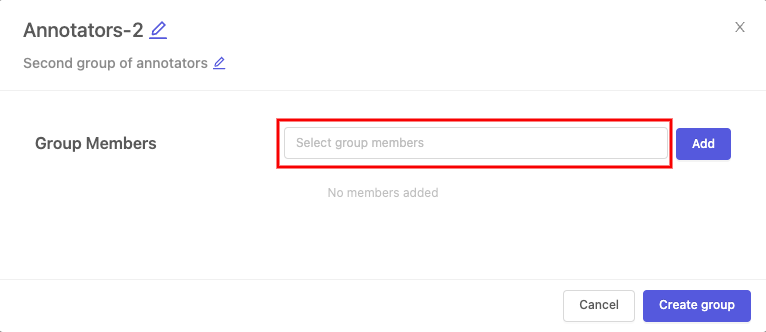
Click Create group to finish.
Projects tab
To manage projects in your organization, select the 'Projects' tab.
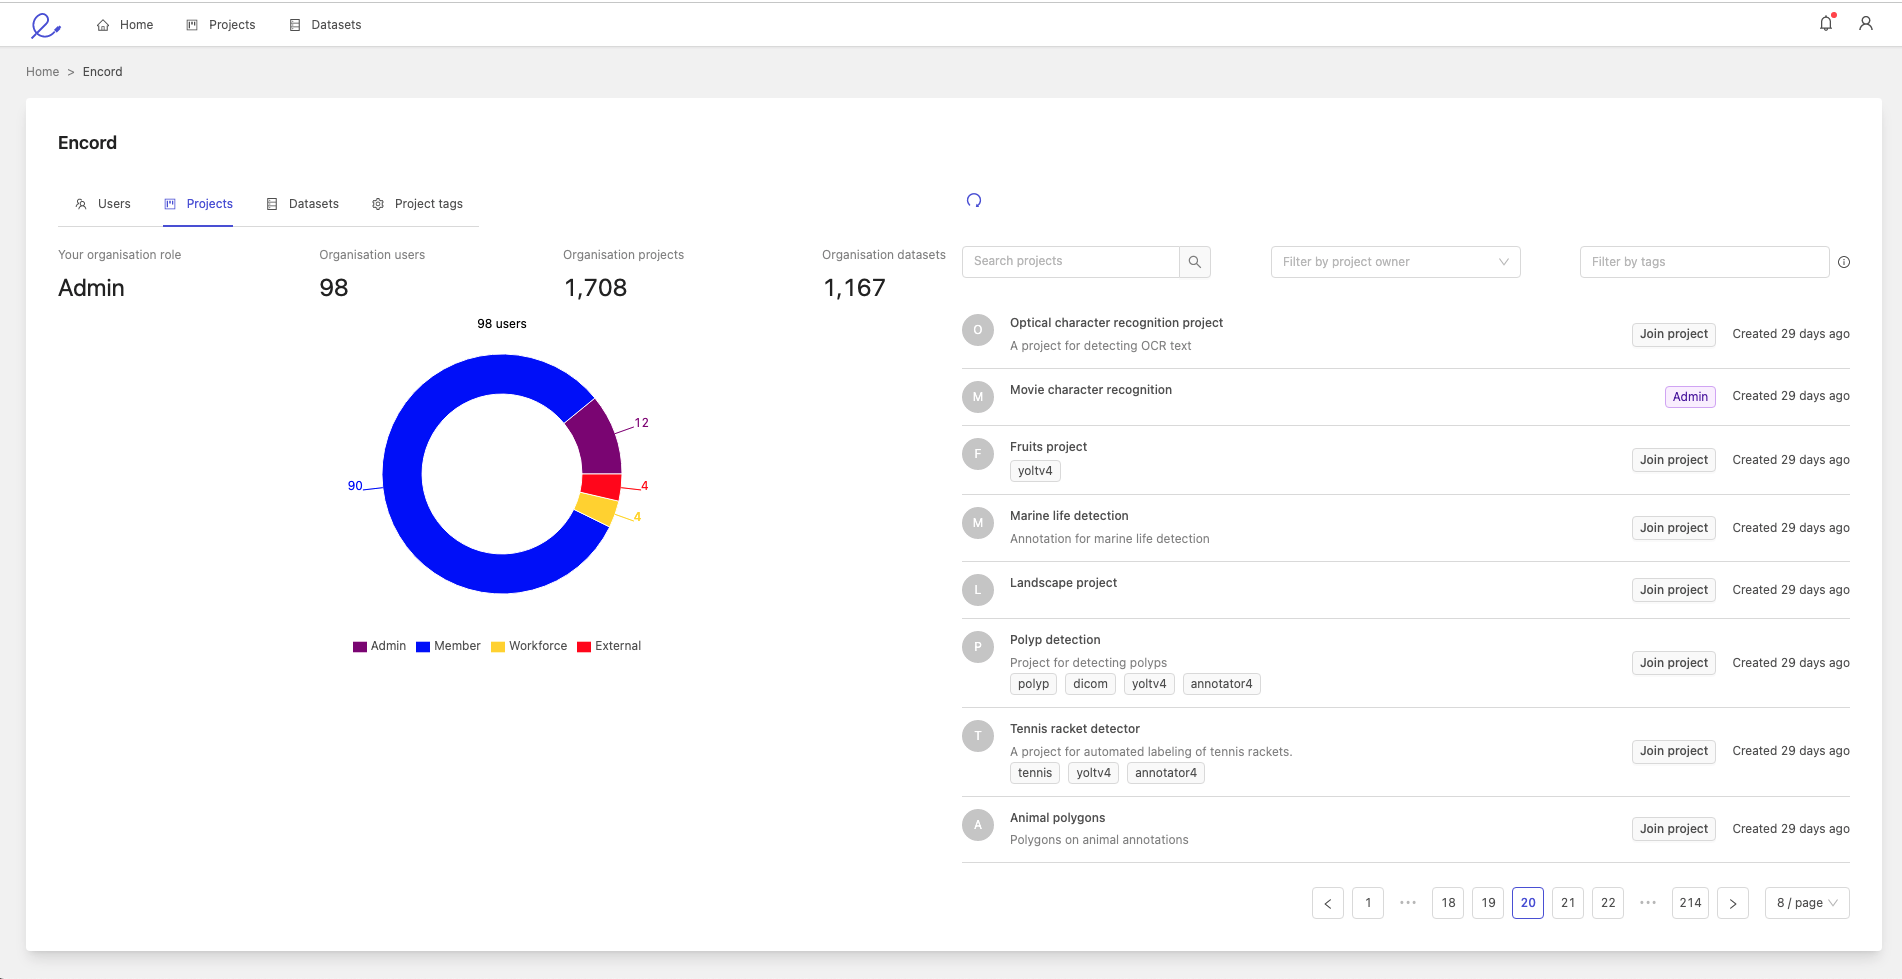
As an organization admin, you can:
- See all projects in your organization: if you want to see only your projects, click the 'Filter by project owner' dropdown, and select 'My projects only'
- Add yourself to any project: you have full access as a project admin
For both admins and members, clicking on a project you are a part of will take you to that project. If you are a member, you will only see your projects which are part of the organization.
Join a project
An admin can add themselves to a project. Navigate to the project you want to join, and click the Join project button on the right.
You will be added to the project as an admin.
Datasets tab
To manage datasets in your organization, select the 'Datasets' tab.
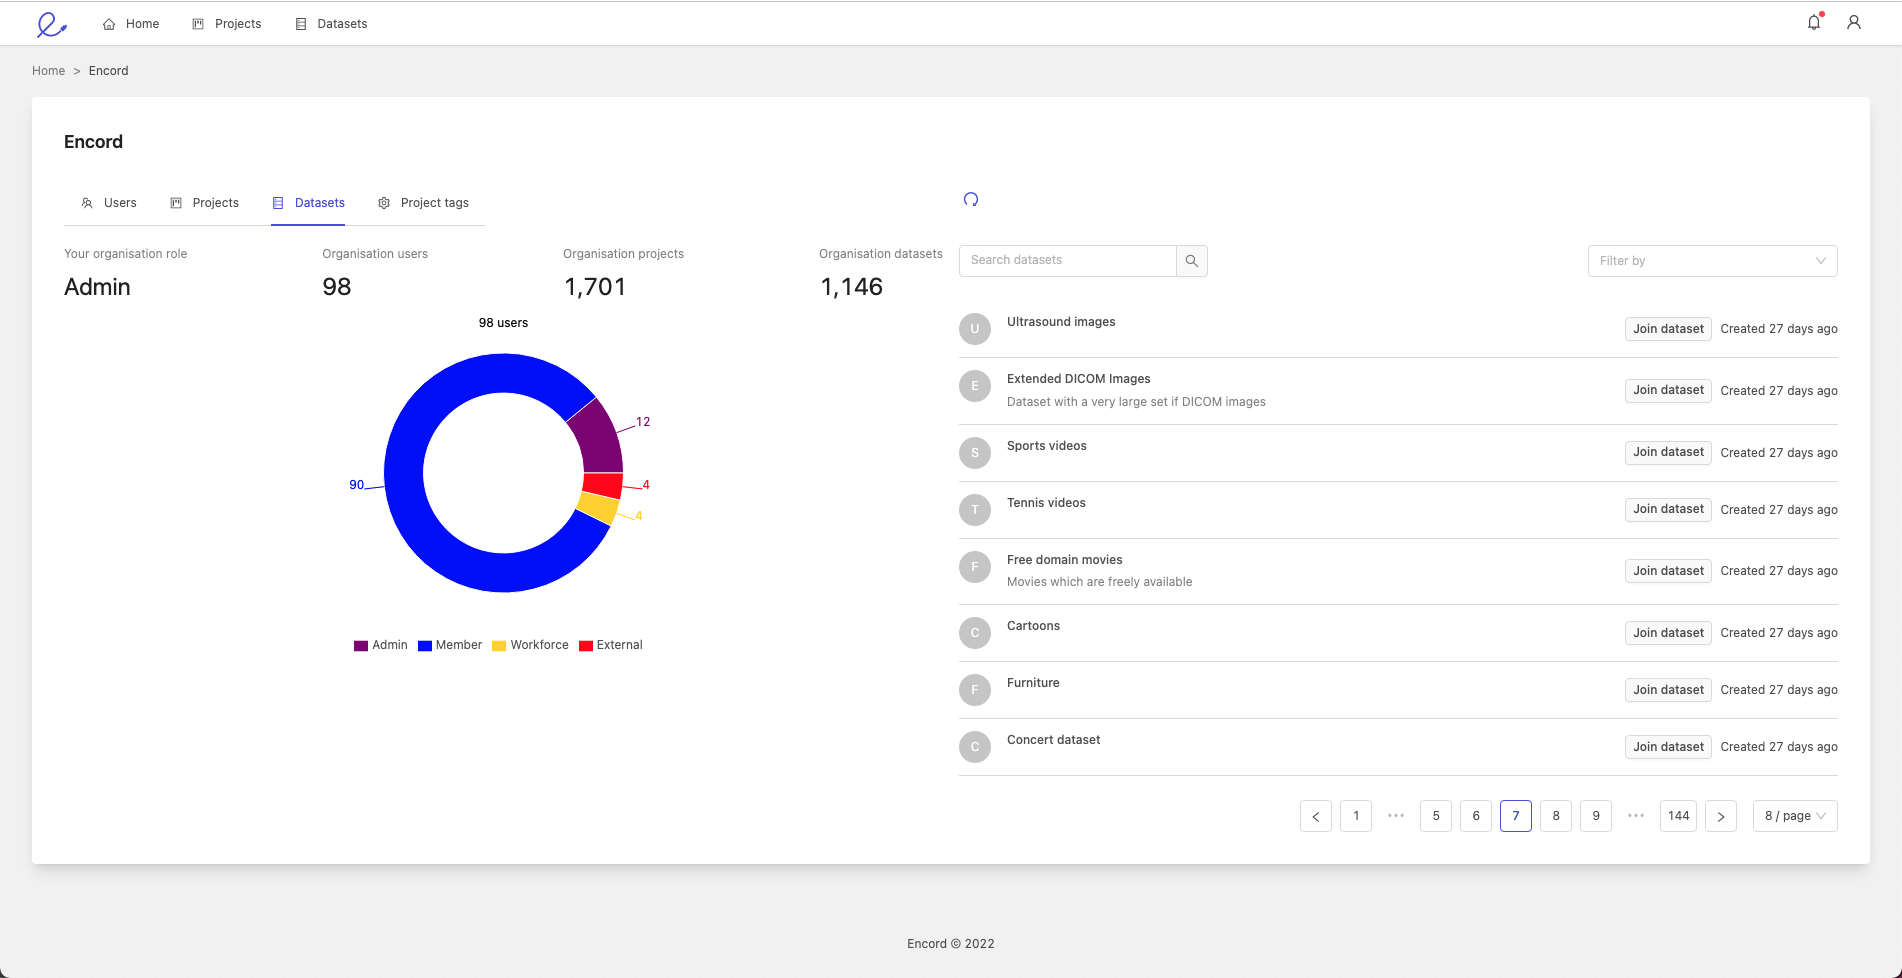
As an organization admin, you can:
- See all datasets in your organization: if you want see your datasets only, click the 'Filter by' dropdown, and select 'My datasets only'
- Add yourself to any dataset: you have full access as a dataset admin
For both admins and members, clicking on a dataset you are a part of will take you to that dataset. If you are a member, you will only see your datasets which are part of the organization.
Join a dataset
An admin can add themselves to a dataset. Navigate to the dataset you want to join, and click the Join dataset button on the right.
You will be added to the dataset as an admin.
Ontologies tab
To manage ontologies in your organization, select the 'Ontologies' tab.
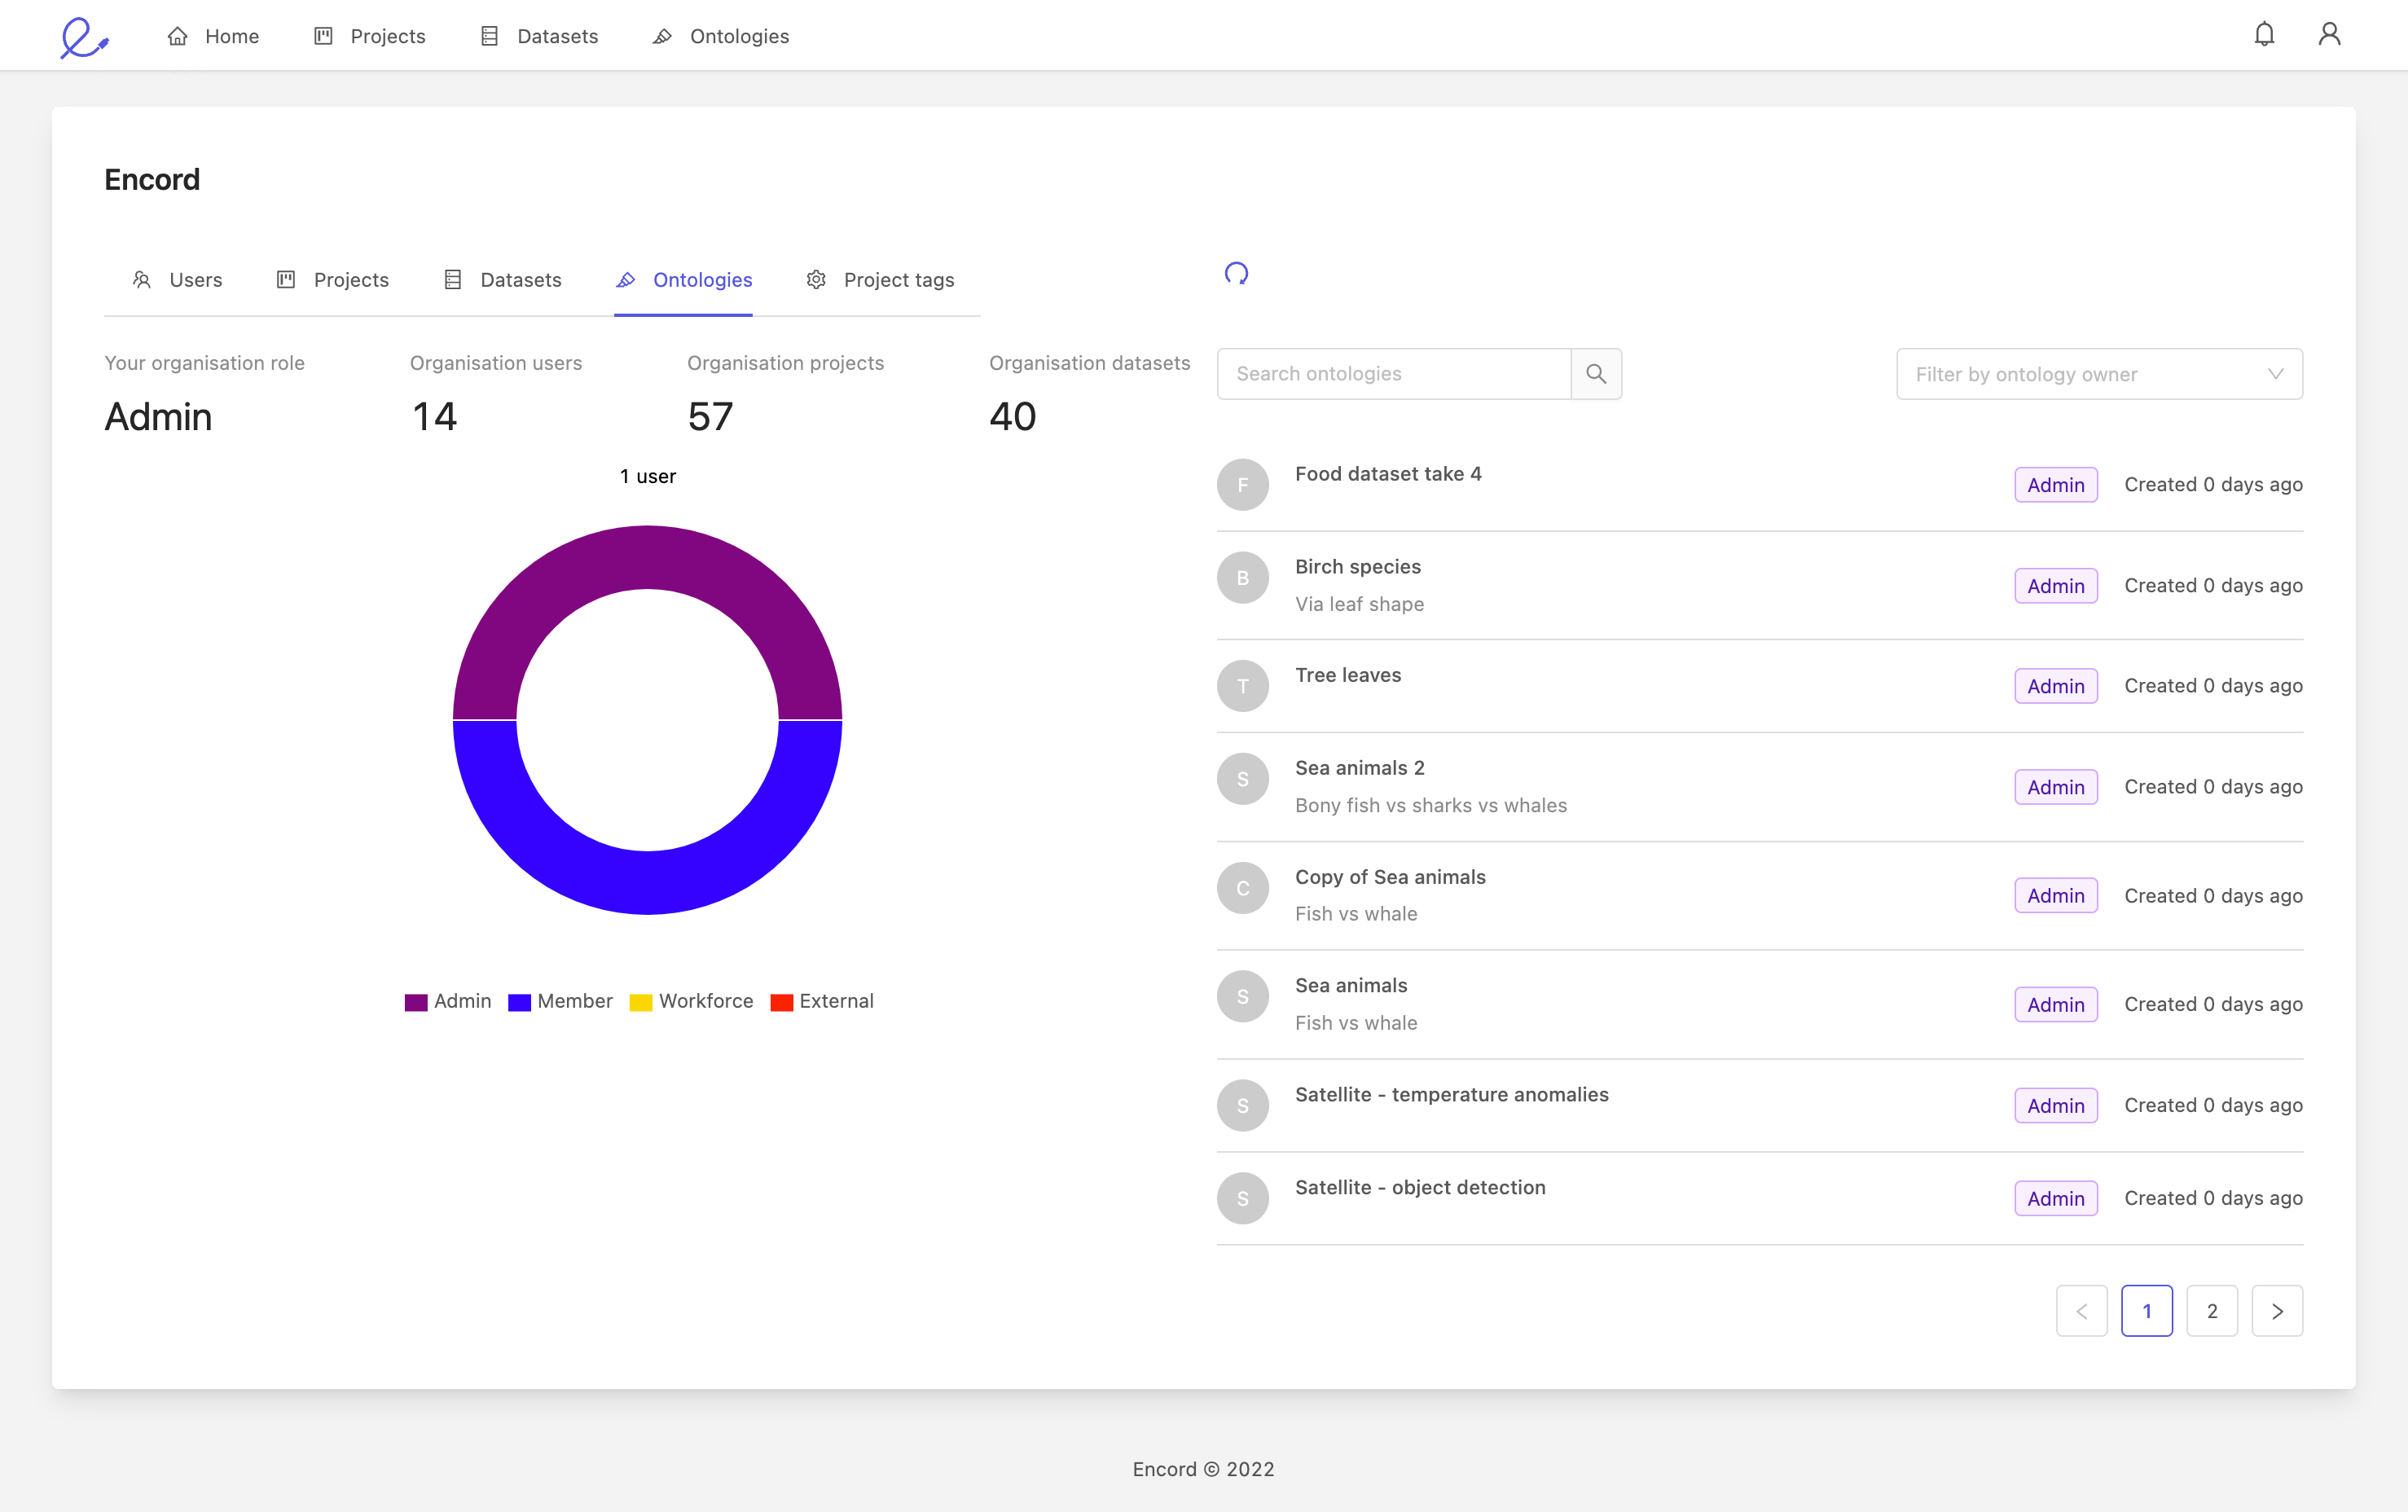
As an organization admin, you can:
- See all ontologies in your organization: if you want see your ontologies only, click the 'Filter by' dropdown, and select 'My ontologies only'
- Add yourself to any ontology: you have full access as an ontology admin
For both admins and members, clicking on an ontology you are a part of takes you to that ontology. If you are a member, you will only see your ontologies which are part of the organization.
Join an ontology
An admin can add themselves to an ontology. Find the ontology you want to join in the list, and click the Join ontology button on the right.
You will be added to the ontology as an admin.
Project tags tab
Creating and managing project tags requires admin rights for your organization. Tags can be added to projects by all members of an organization.
Project tags allow projects to be categorized using labels which helps:
- Admins when looking at projects across an entire organization
- For organization members wanting to group and filter their projects
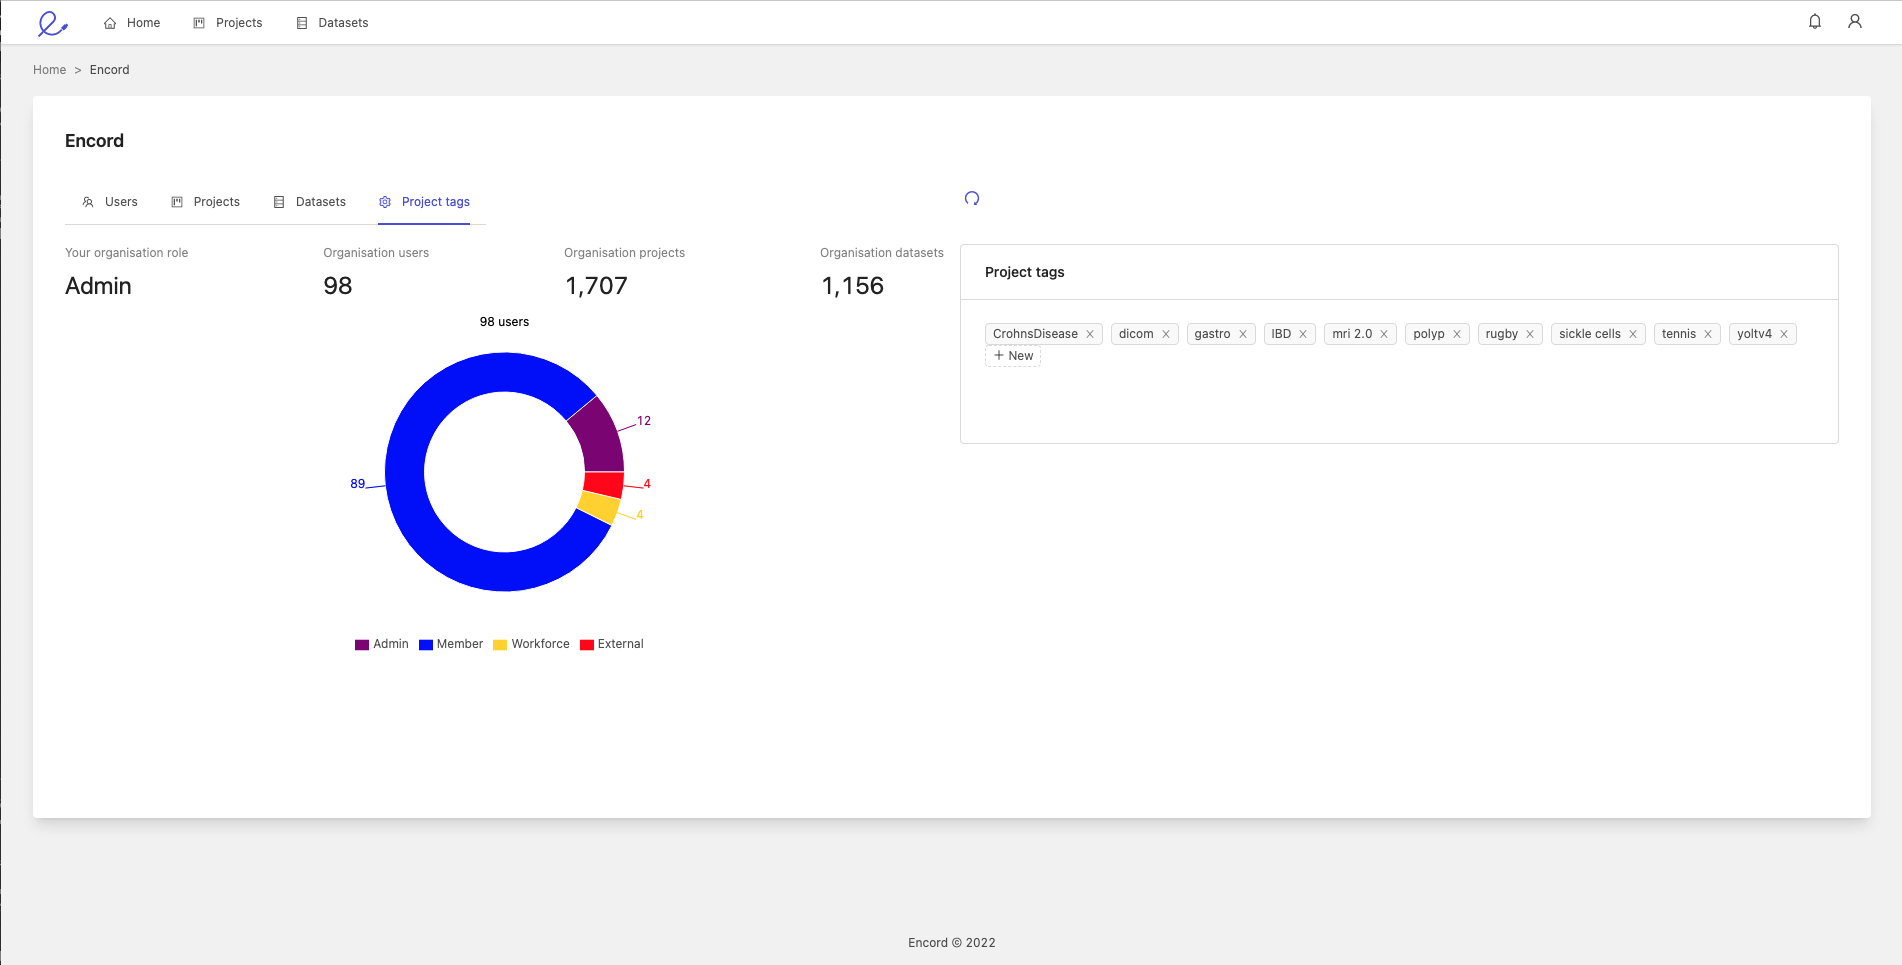
To manage project tags, click the 'Project tags' tab, which is only visible to admins.
To see how to add project tags to individual projects click here.
Create a tag
Creating a new project tag will make this available for selection in a project. Create a tag by clicking the +New button and typing in the name of your new tag. Make sure this name isn't already being used, otherwise you will be prompted to try again.
Edit a tag
You can edit an existing tag to give it a different name, as long as the name isn't already in use. To do this, double-click on the tag you want to modify, and enter its new name.
Remove a tag
Removing a tag will remove it from all projects which use the tag across your organization, and will no longer make it accessible for adding to any projects in the future. To remove a tag, simply press x labelled on the tag. If the tag is in use in any projects, you will be prompted with a confirmation that you really want to remove it.

Filter projects by tags
After you have created one or more project tags, and they are being used in projects, you can filter projects using these tags. To do so, navigate to the 'Projects' tab, click the 'Filter by tags' dropdown and select one or more project tags. This will result in only projects with all of those tags being displayed.

Interacting with users in your organization
Organization members are pre-populated in dropdowns in various parts of the application, making it easy to add members as collaborators to your projects, datasets, and notifications.
Add an organization user to a project
To add somebody from your organization to a project, go to the Project -> Project settings -> Team -> +Invite collaborators. A pop-up will load where you can enter the emails of the collaborators you want to invite to your project.
If you click the 'Enter emails' field, you will get a dropdown menu pre-populated with your organization members. Start typing to filter the list. The filter is applied from the beginning of the word.
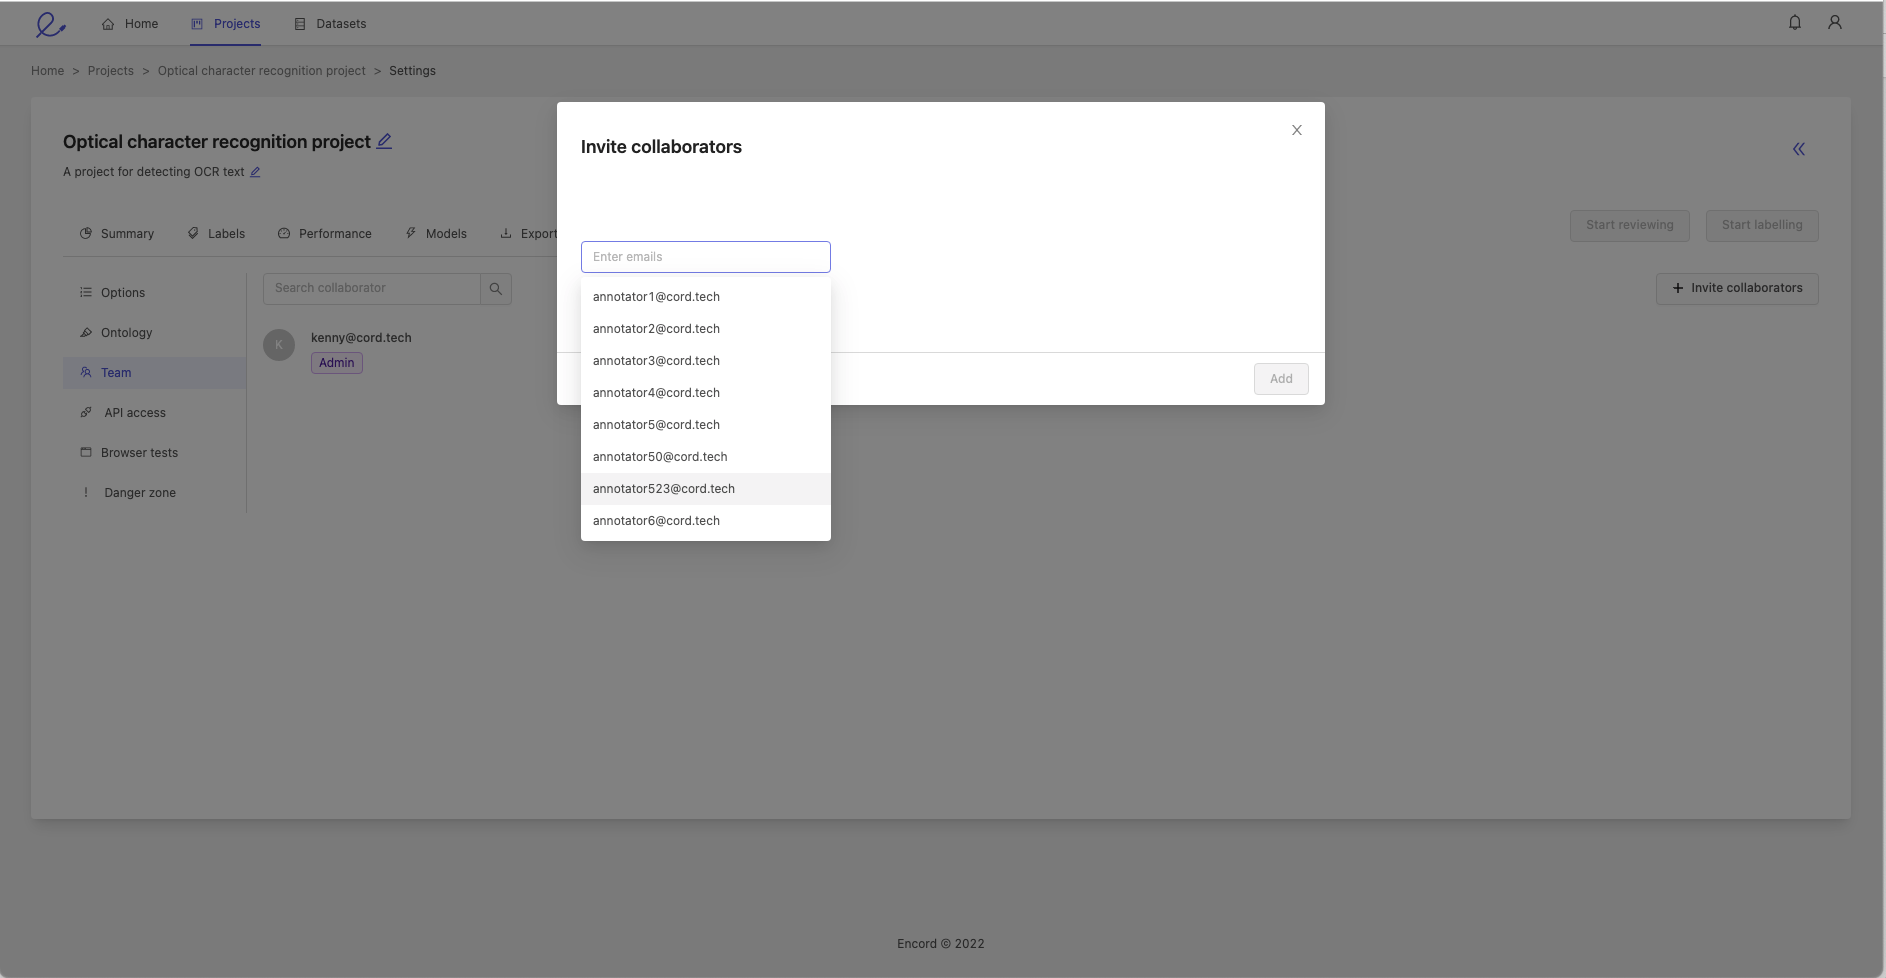
Please note that you can still add people from outside your organization as well. This is a feature meant to ease collaboration within organizations, not hinder any workflow requirements you might have.
Add an organization user to a dataset or notification
The flow to add users from your organization to datasets and notifications is analogous to that of projects.